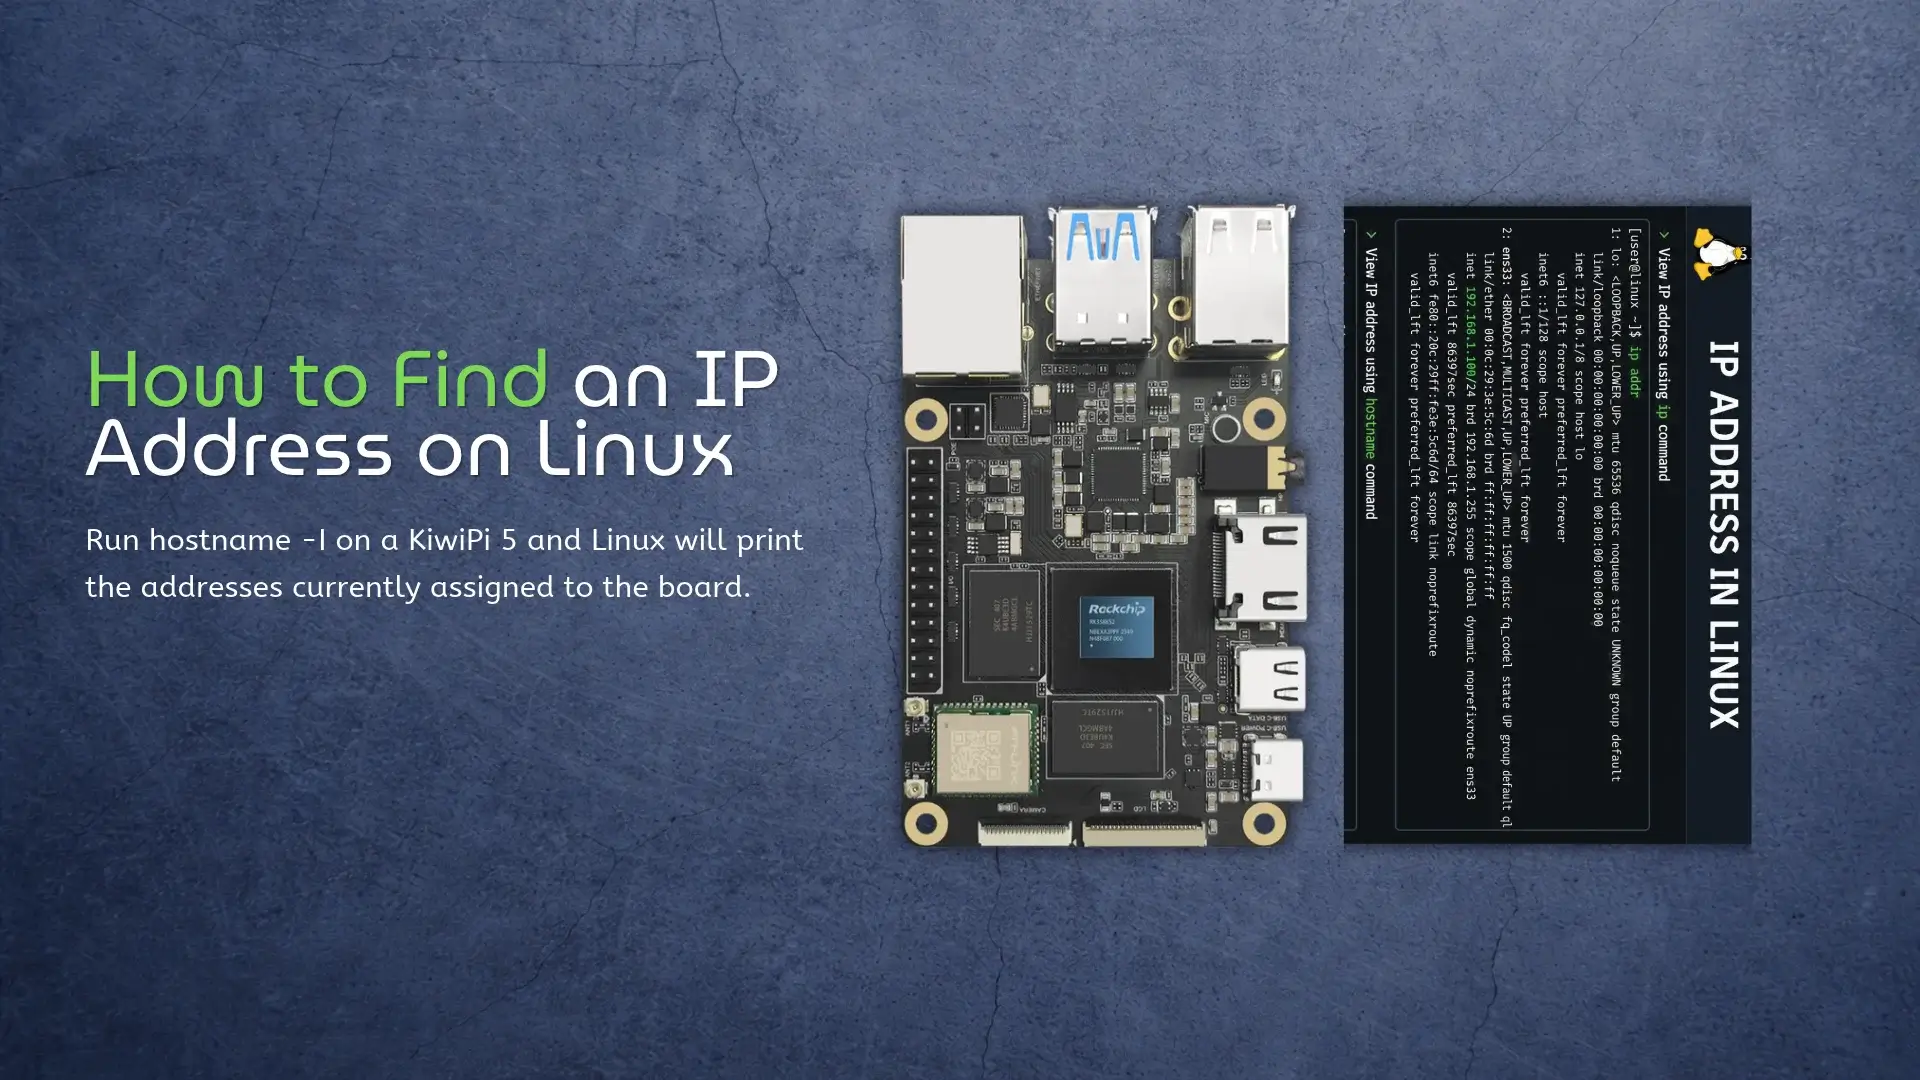
Run hostname -I on a KiwiPi 5 and Linux will print the addresses currently assigned to the board. On a typical home network, the result might look like this: hostname -I 192.168.1.50 That 192.168.1.50 address is the one you would normally use for SSH, SCP file transfers, or a web interface from another device on the same network. You may get two or three results instead. Linux can hold several addresses at once, and a KiwiPi connected over both Ethernet and Wi-Fi will usually have a separate address for each interface. Check the Address on KiwiPi hostname -I is convenient because it leaves out most of the interface detail. It also leaves you to decide which result matters. For the full view described by the Linux IP address manual, use: ip address show Look for an inet line under the active Ethernet or Wi-Fi interface. Names vary between images, but end0, eth0, and wlan0 are common. Ignore 127.0.0.1 under lo, since another computer cannot reach it. There is a shorter version that hides interfaces which are down: ip -br address show up Its output is easier to read when both Ethernet and Wi-Fi are enabled. If they show 192.168.1.50/24 and
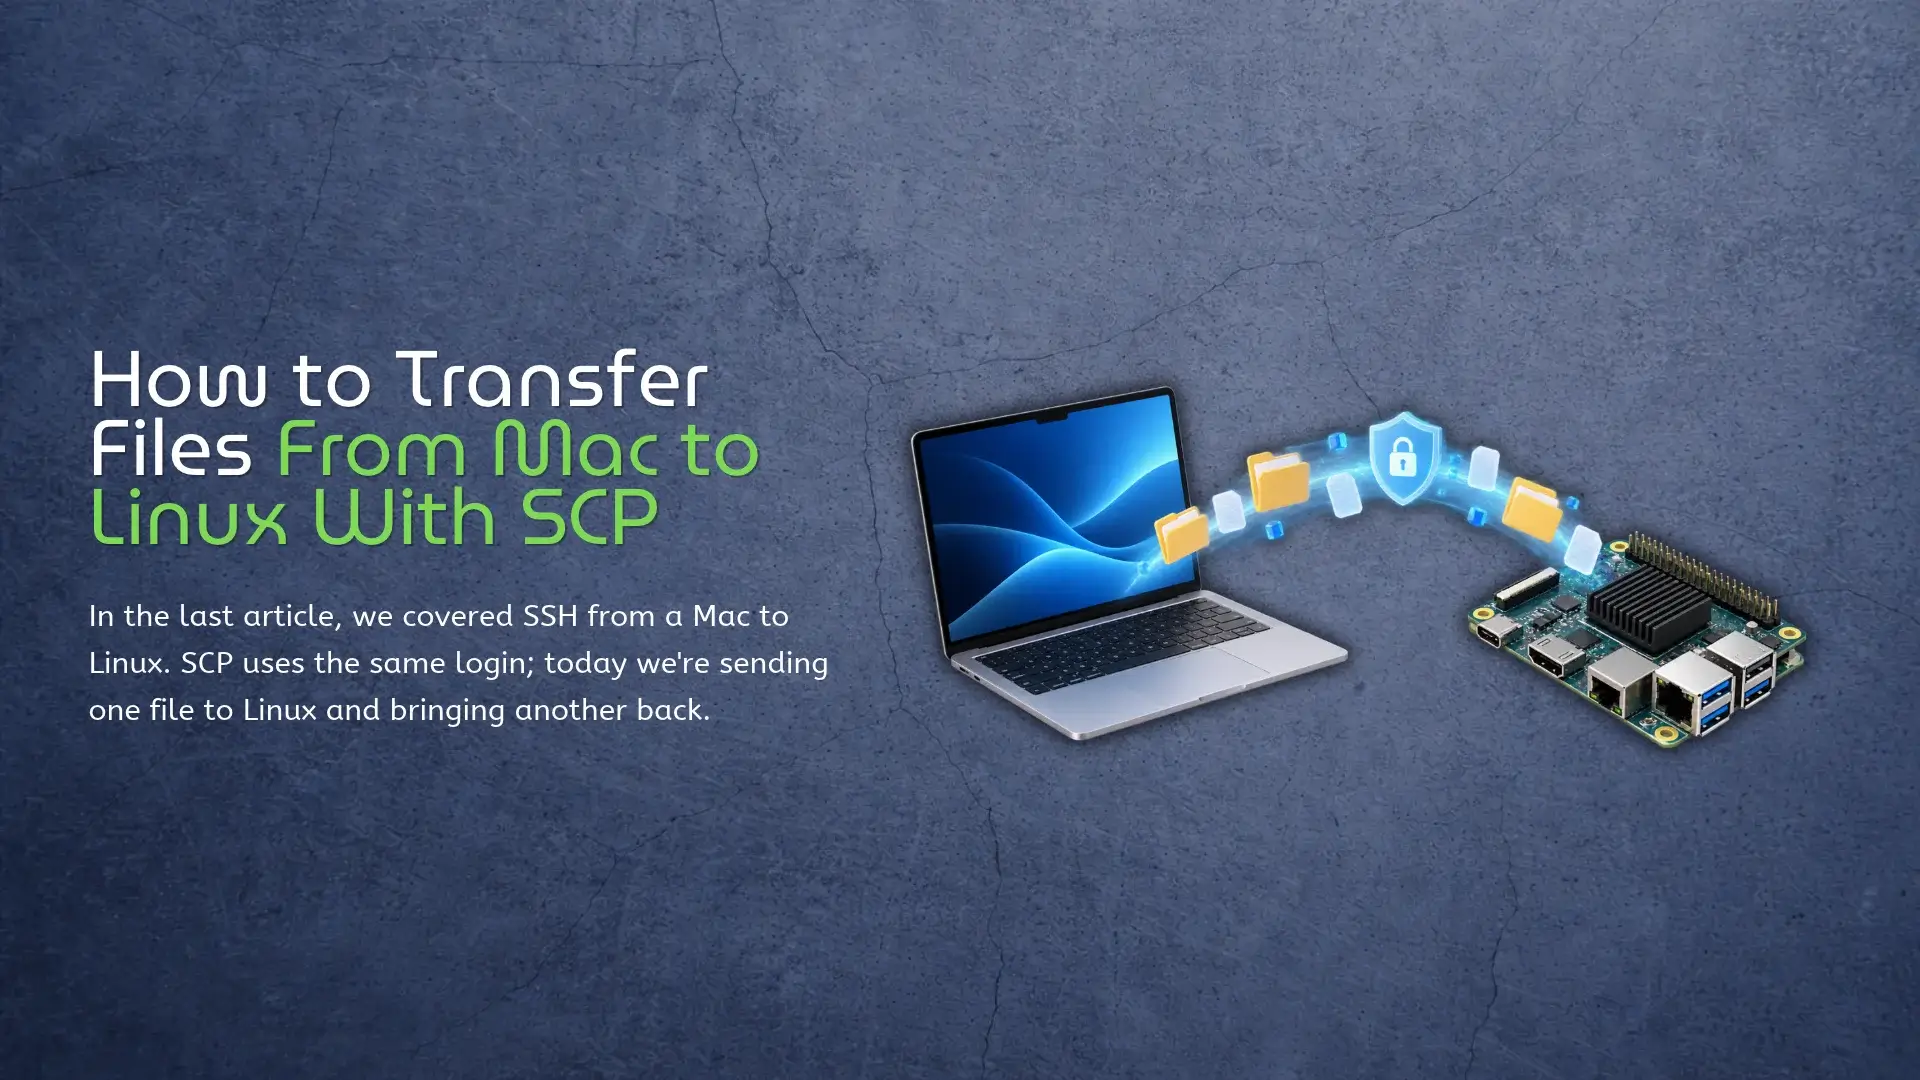
In the last article, we covered SSH from a Mac to Linux. SCP uses the same login; today we’re sending one file to Linux and bringing another back. Say model.onnx is sitting in Downloads on the Mac, and the Linux user is alex at 192.168.1.50, which is the address of the machine you want to reach. Run this in Terminal on the Mac: scp ~/Downloads/model.onnx alex@192.168.1.50:/home/alex/ That’s it. Enter the same password you use for SSH, and model.onnx lands in /home/alex/. One surprisingly common point of confusion: you don’t SSH into the board first. The command runs on the computer that has the local file – in this case, the Mac. Where SCP Puts the File SCP reads from left to right. The first path is the source, and the second is where it goes: scp source destination The colon after the IP address is doing most of the work here. Everything before it identifies the Linux login; everything after it is a path on that Linux machine. Without the colon, you’ve written two local paths and scp has no remote host to contact. You can also give the copied file a new name: scp ~/Downloads/model.onnx alex@192.168.1.50:/home/alex/detector.onnx The original file
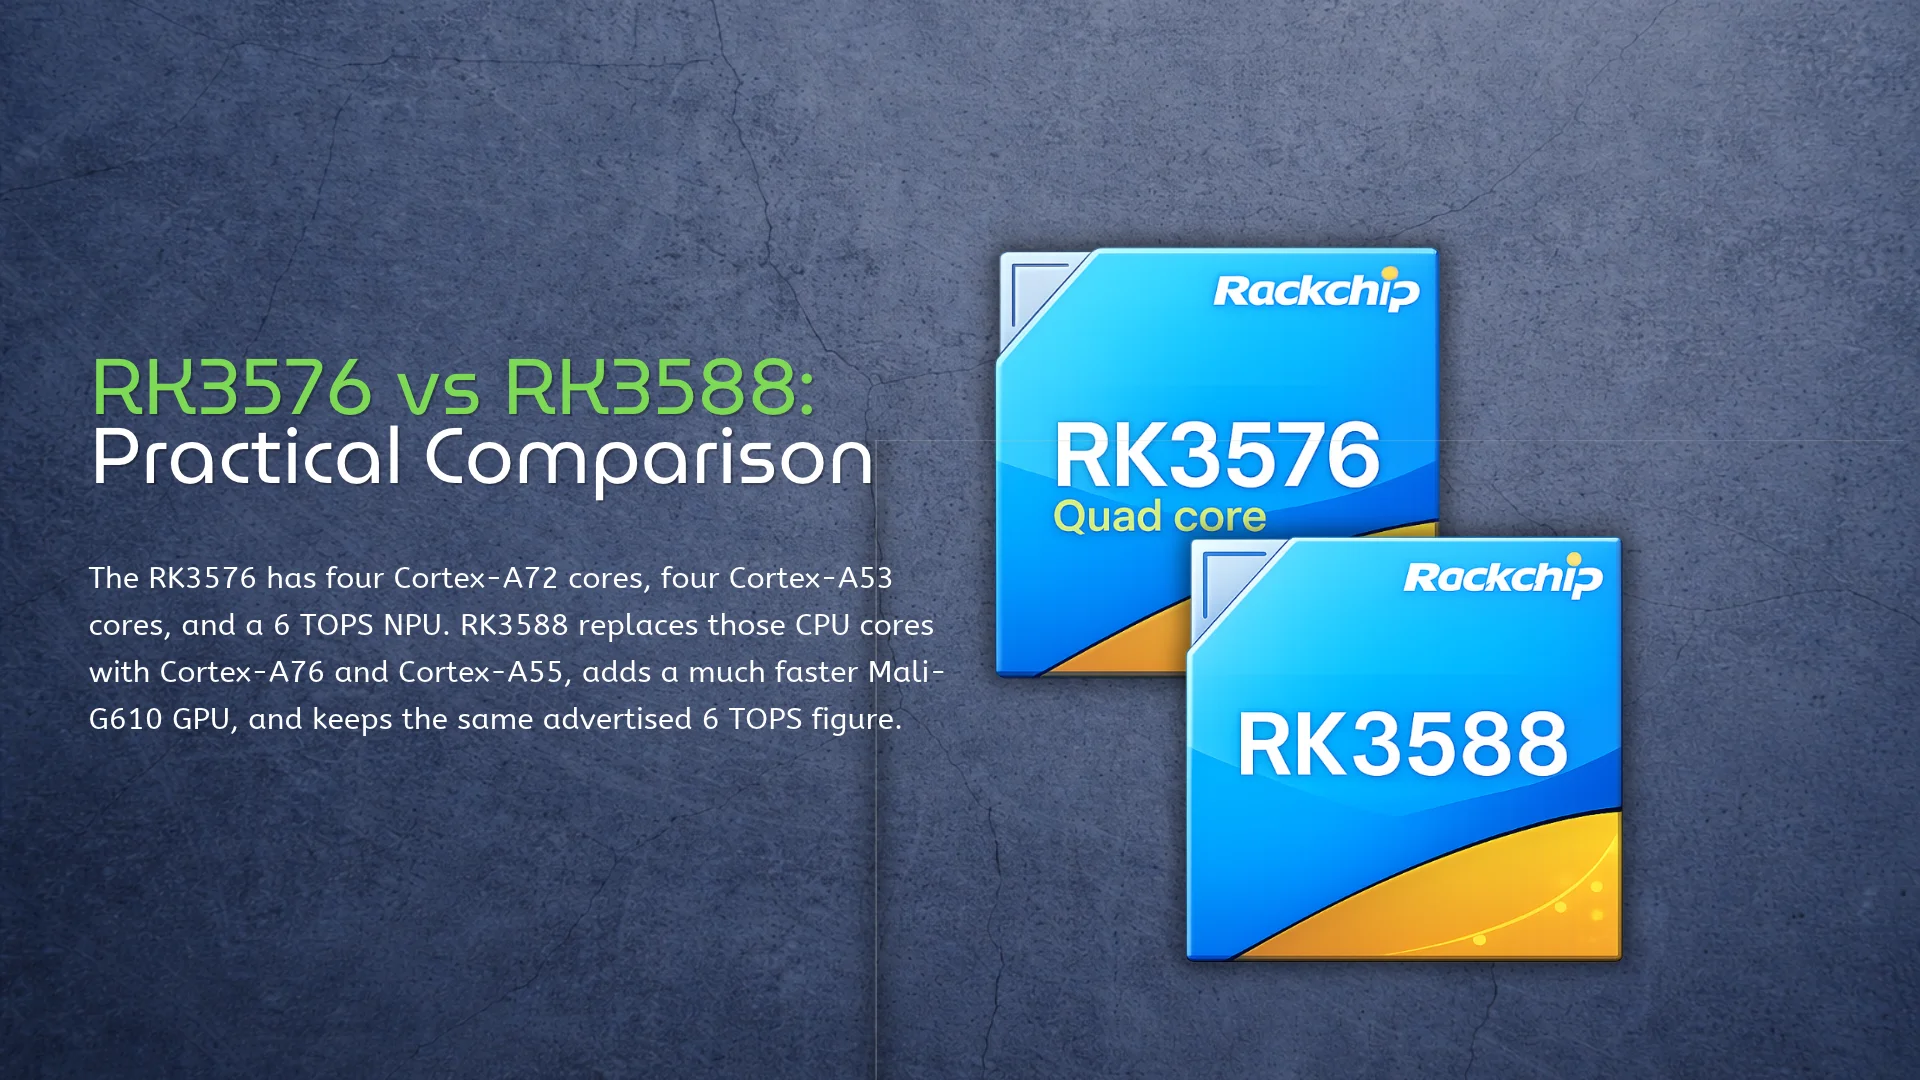
Today we take a closer look at the differences between the RK3576 and RK3588, and how they shape the experience on the KiwiPi 4 and KiwiPi 5 boards:1) The KiwiPi 4 runs Rockchip’s RK3576 and comes with 3GB of RAM and 64GB of UFS storage. It’s an 85 × 56mm board with Gigabit Ethernet and connections for cameras and a display. 2) The KiwiPi 5 Pro uses RK3588, with up to 32GB of RAM, four USB 3.0 host ports, two 2.5GbE ports, and an M.2 slot for a 2280 NVMe SSD. Both processors have eight CPU cores and an advertised 6 TOPS NPU. I compared the documentation for these boards, including KiwiPi 5 and 5B. There are no side-by-side benchmarks here, so I won’t put a percentage on the performance difference. USB and NVMe connections You can connect a USB 3.0 drive to KiwiPi 4 and still have its two USB 2.0 ports available for a keyboard and mouse. For a small computer running off its onboard UFS, that’s a fairly useful arrangement. The USB drive can hold recordings or backups without taking over the system disk. KiwiPi 4 single-board computer powered by the Rockchip RK3576
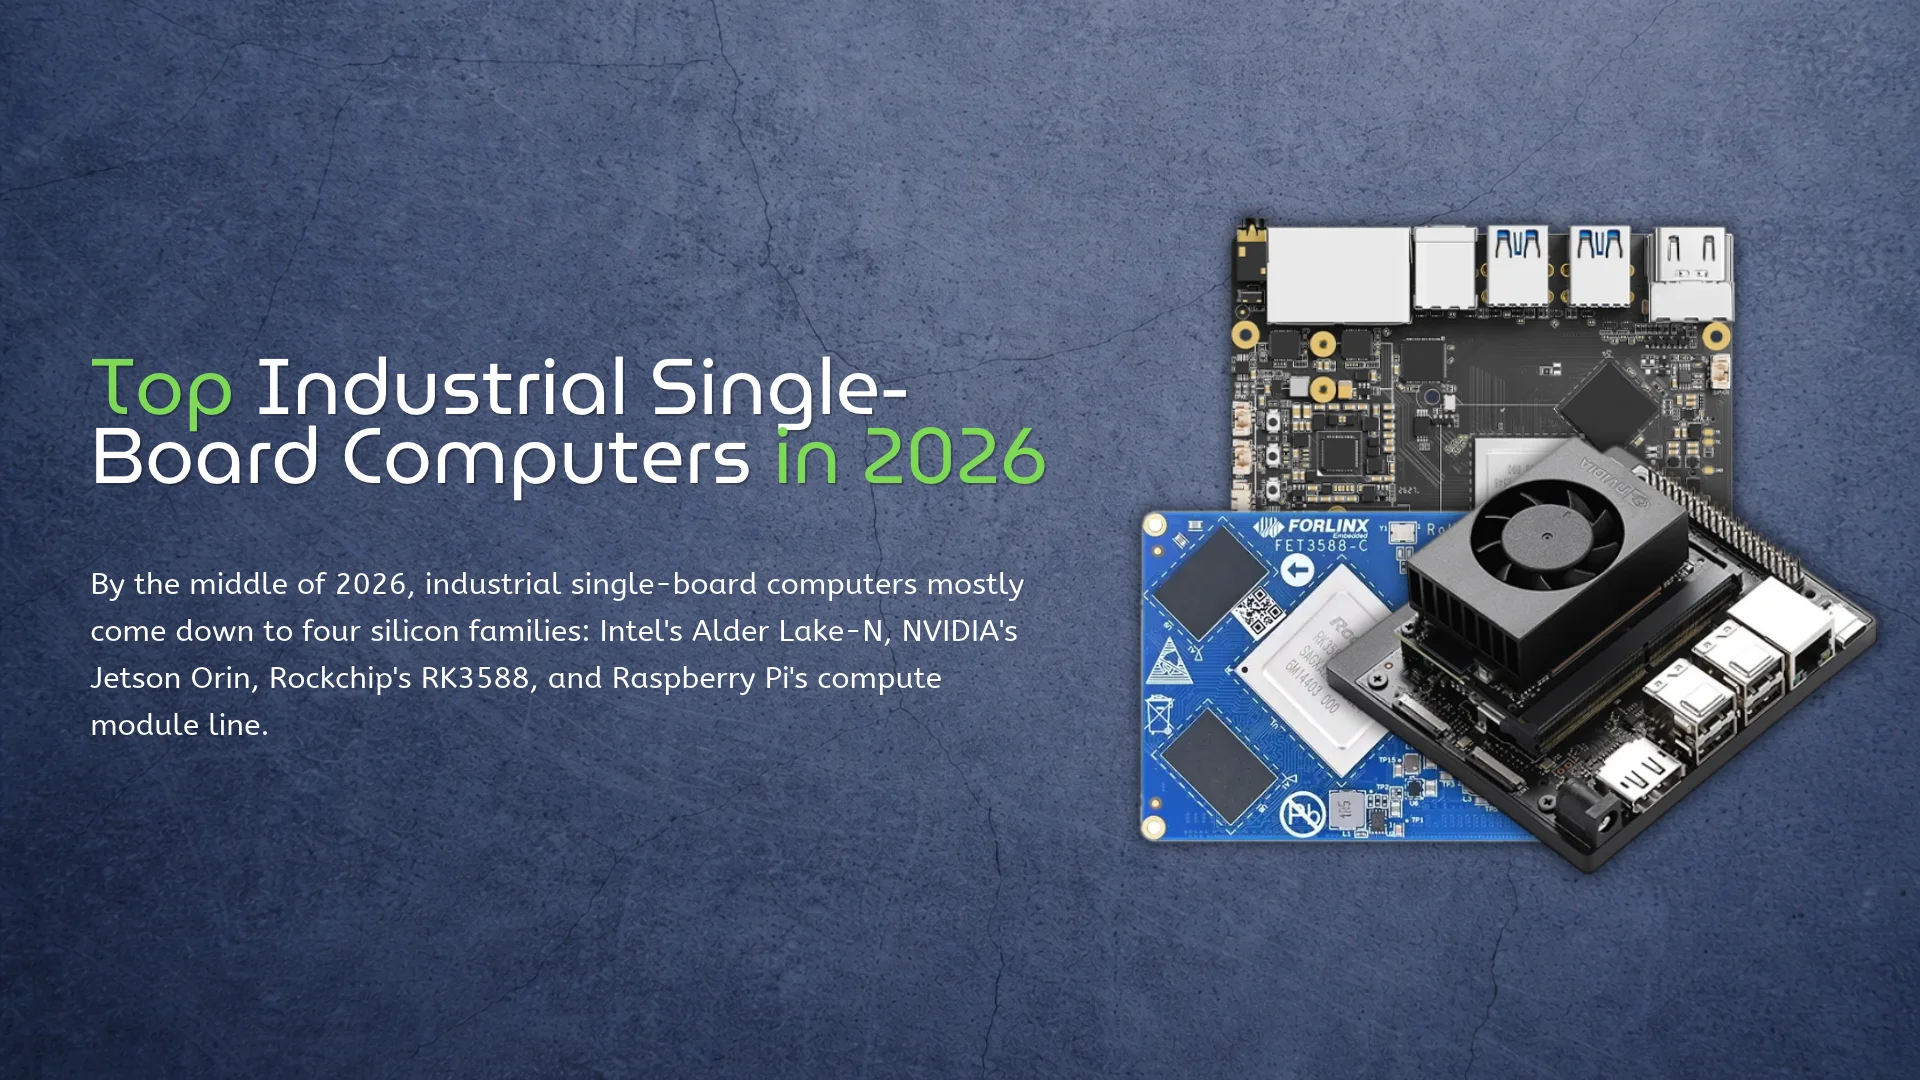
By the middle of 2026, industrial single-board computers mostly come down to four silicon families: Intel’s Alder Lake-N, NVIDIA’s Jetson Orin, Rockchip’s RK3588, and Raspberry Pi’s compute module line. The boards around that silicon differ in ways a CPU table can’t show. Full transparency, because it changes how you read the rest: I work at KiwiPi, and our KiwiPi 5 Pro shows up below. Everything here is written from datasheets and vendor documentation. I haven’t benchmarked a single one of these boards, including our own. Temperature, Longevity, and Software A consumer board is happy in a room. Put that same board in a machine cabinet, an outdoor box, or an unheated depot, and the spec sheet starts telling the truth. Operating temperature, how many years the vendor keeps selling the same board, and whether the Linux image still receives fixes are what separate industrial hardware from desk toys. CPU speed has very little to do with it, whatever the marketing says. Software decides more of these purchases than the silicon does. x86 runs Windows and dependable, boring Ubuntu; a Jetson module means CUDA and TensorRT; a Rockchip NPU means the RKNN runtime and a vendor image that actually exposes the
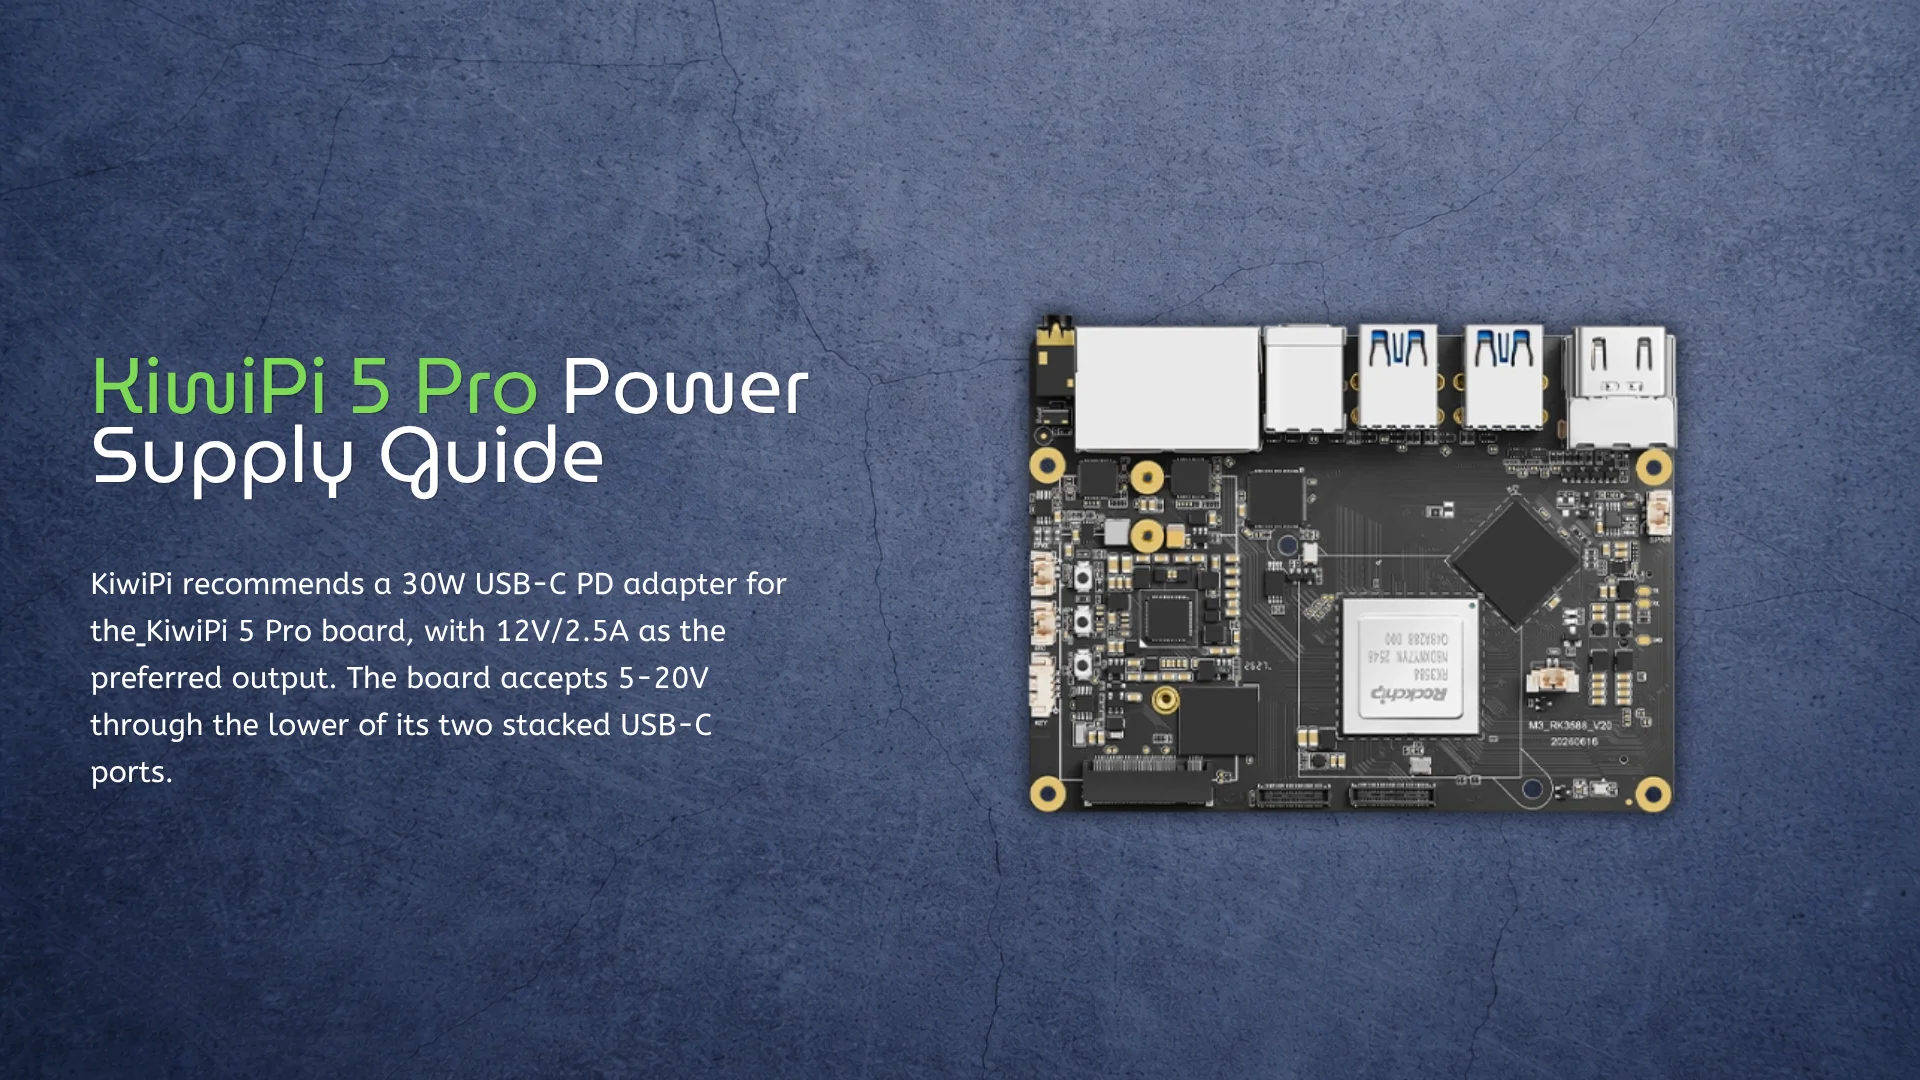
KiwiPi recommends a 30W USB-C PD adapter for the KiwiPi 5 Pro board, with 12V/2.5A as the preferred output. The board accepts 5-20V through the lower of its two stacked USB-C ports. A 15W phone charger is below that recommendation. The KiwiPi 5 Pro hardware manual says 5V/3A may be enough for a light load, while adapters rated at 10W or less may not boot the board normally. Supplies in the 18-25W range sit in between: normal operation is possible, although a heavier peripheral load may make the system unstable. The Two USB-C Ports Power Input The lower USB-C connector, closest to the PCB, is the power input. PD 3.1, QC, and BC1.2 are supported on this port. It is an input only. The specifications list no data transfer, output voltage, or output current for the lower connector, so it cannot replace the USB-C port above it for flashing or a display connection. KiwiPi 5 Pro features two dual USB 3.0 connectors, providing four USB 3.0 ports for high-speed peripherals. USB-C Data Port The connector above it has a different job. It is connected to the RK3588 Type-C0 controller and provides USB 3.0 OTG, firmware flashing,
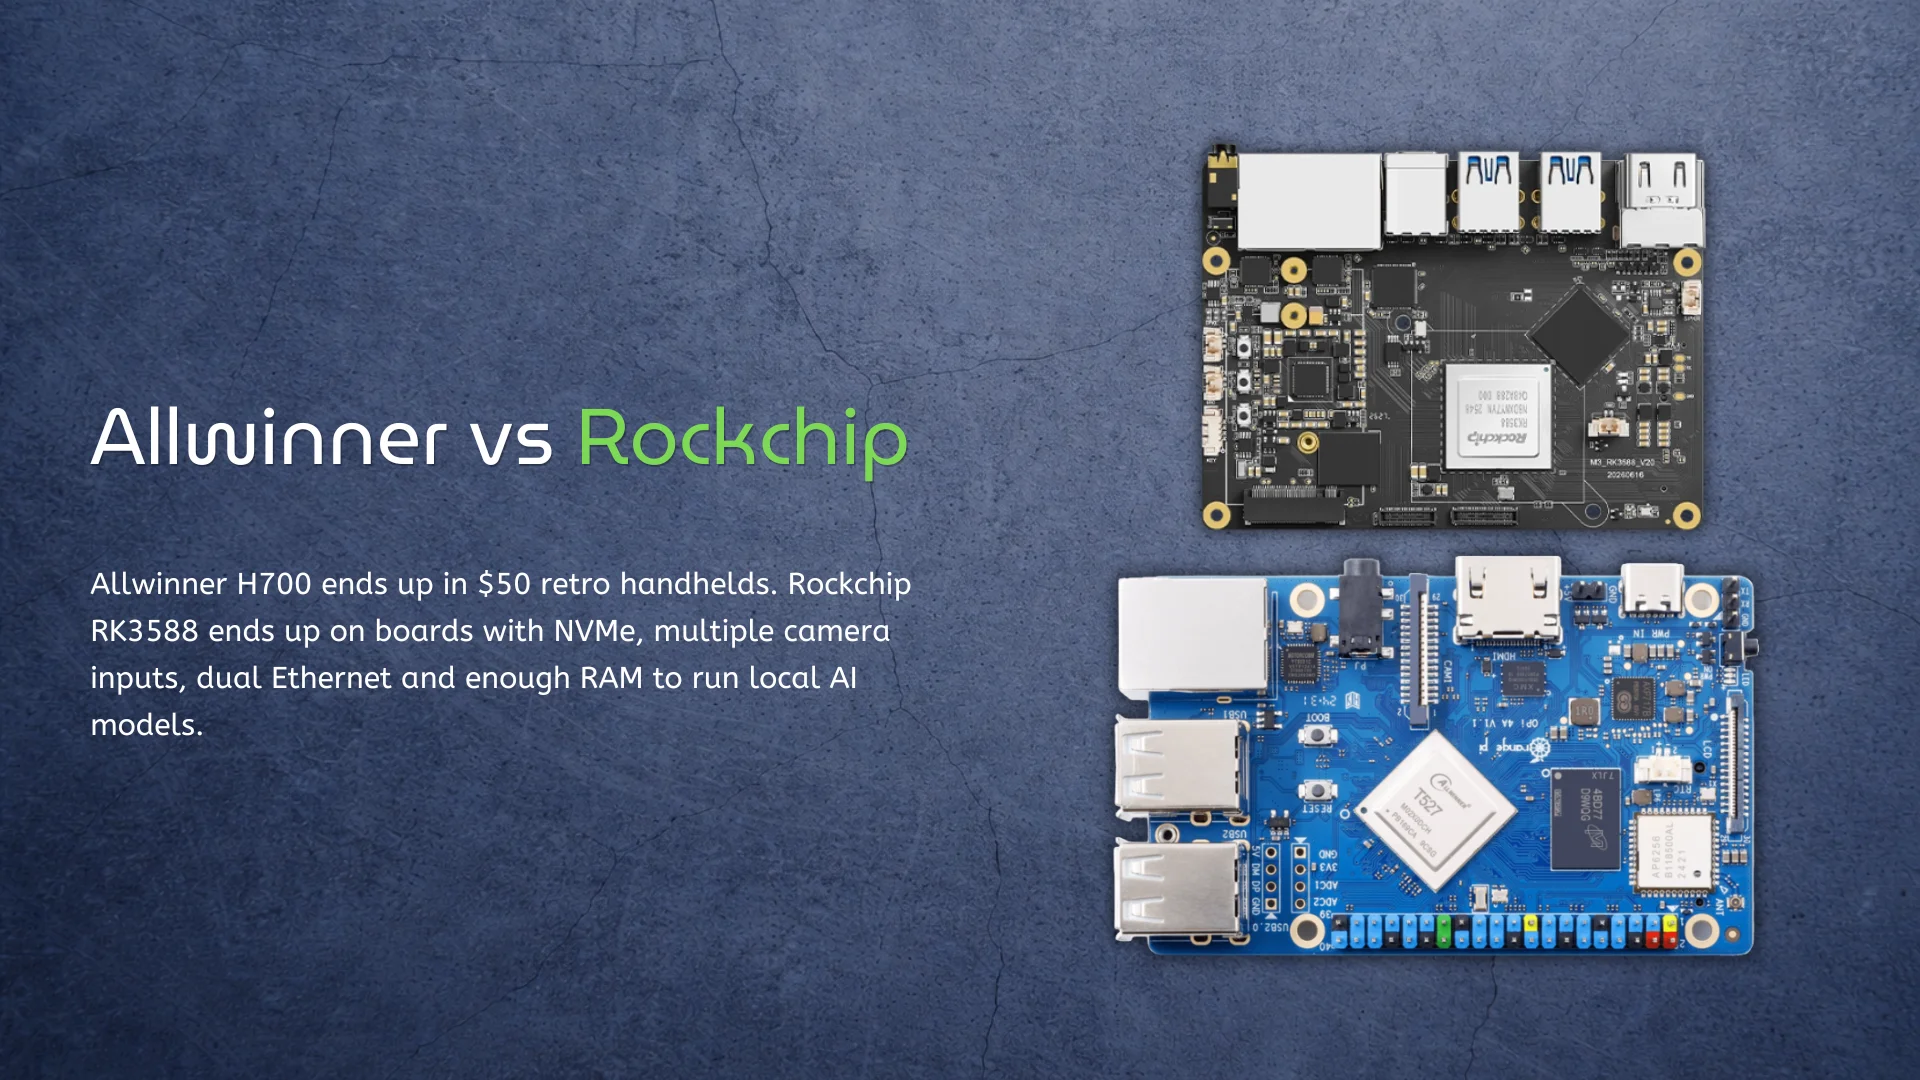
Allwinner H700 ends up in $50 retro handhelds. Rockchip RK3588 ends up on boards with NVMe, multiple camera inputs, dual Ethernet and enough RAM to run local AI models. Calling Allwinner the cheap option and Rockchip the fast one is easy. It also doesn’t answer the useful question: how much of that extra Rockchip hardware will your device actually use? H700 is much slower than RK3588. It is also fast enough for most 8-bit, 16-bit and original PlayStation games. RK3588 can do far more, but buying it to drive one display and launch a few lightweight applications would be a strange use of the money. That’s the real Allwinner vs Rockchip argument. It isn’t about which company makes the better chip. It is about when good enough stops being good enough. H700 wins by doing less Allwinner’s H700 has four Cortex-A53 cores, Mali-G31 graphics and no NPU. None of that sounds exciting. The chip’s more useful feature is its video engine: it supports 10-bit 4K60 decoding, along with HDMI 2.0, LVDS, RGB and CVBS display outputs. That combination makes sense in a cheap handheld. Older console emulation doesn’t need PCIe, USB 3.0 or an AI accelerator. It needs enough single-threaded
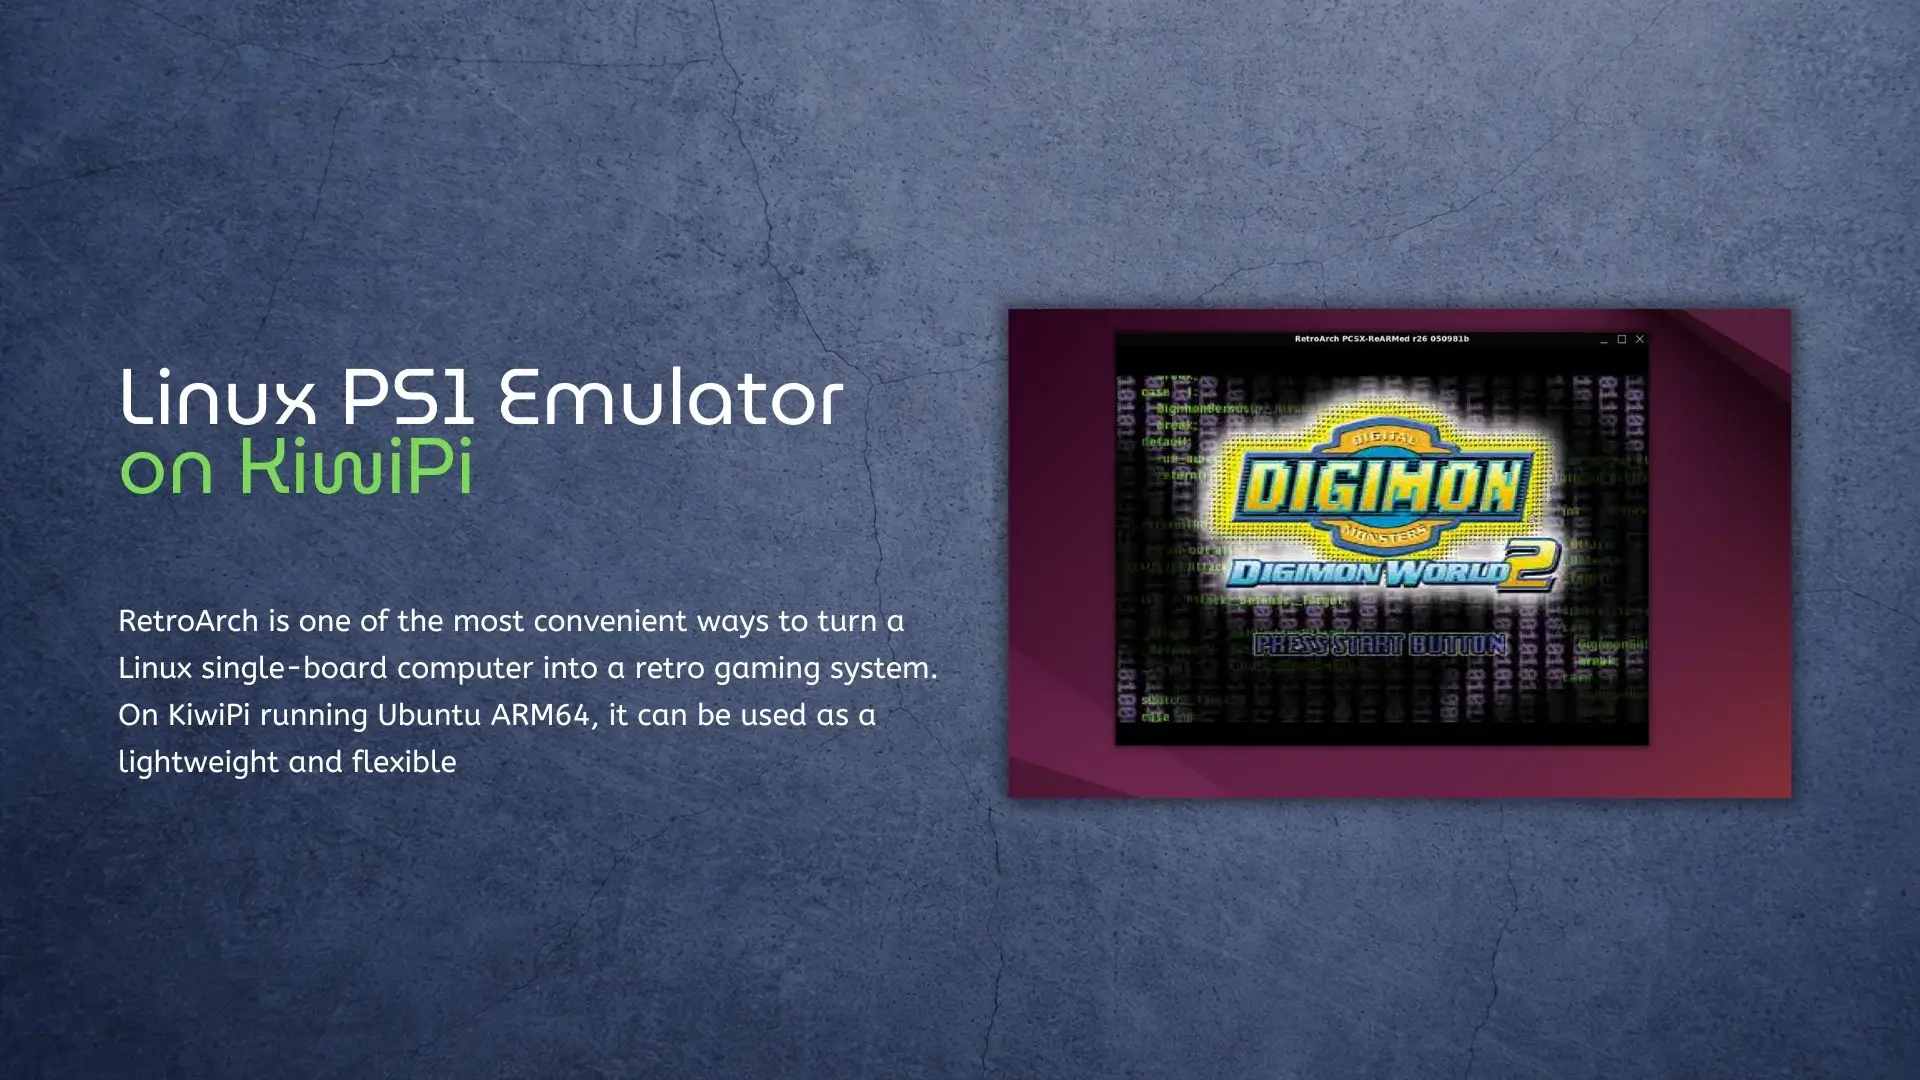
How to Install RetroArch on RK3588S SBC RetroArch is one of the most convenient ways to turn a Linux single-board computer into a retro gaming system. On KiwiPi (based on RK3588S) running Ubuntu ARM64, it can be used as a lightweight and flexible frontend for classic console emulation, including the original PlayStation. In this guide, we will install RetroArch on KiwiPi 5, manually add a PlayStation emulator core, and launch a PS1 game. The process is based on a real KiwiPi Ubuntu test setup and avoids unnecessary steps that are not required for a successful launch. The main goal is simple: get a working Linux PS1 emulator on KiwiPi using RetroArch and the PCSX ReARMed core. KiwiPi 5 Hardware Specifications The test system used in this guide is KiwiPi 5, based on the Rockchip RK3588S platform. Component Specification SoC Rockchip RK3588S, 8 nm CPU 4× Cortex-A76 @ 2.2 GHz + 4× Cortex-A55 @ 1.8 GHz GPU ARM Mali-G610 MC4 Graphics API OpenGL ES 3.2, OpenCL 2.0, Vulkan 1.2 NPU 6 TOPS RAM 8 GB LPDDR4X Storage 64 GB eMMC Video Output HDMI 2.1 up to 8K@60fps Wireless Wi-Fi 6, Bluetooth 5.4 Ethernet Gigabit Ethernet OS Tested Ubuntu ARM64 This hardware
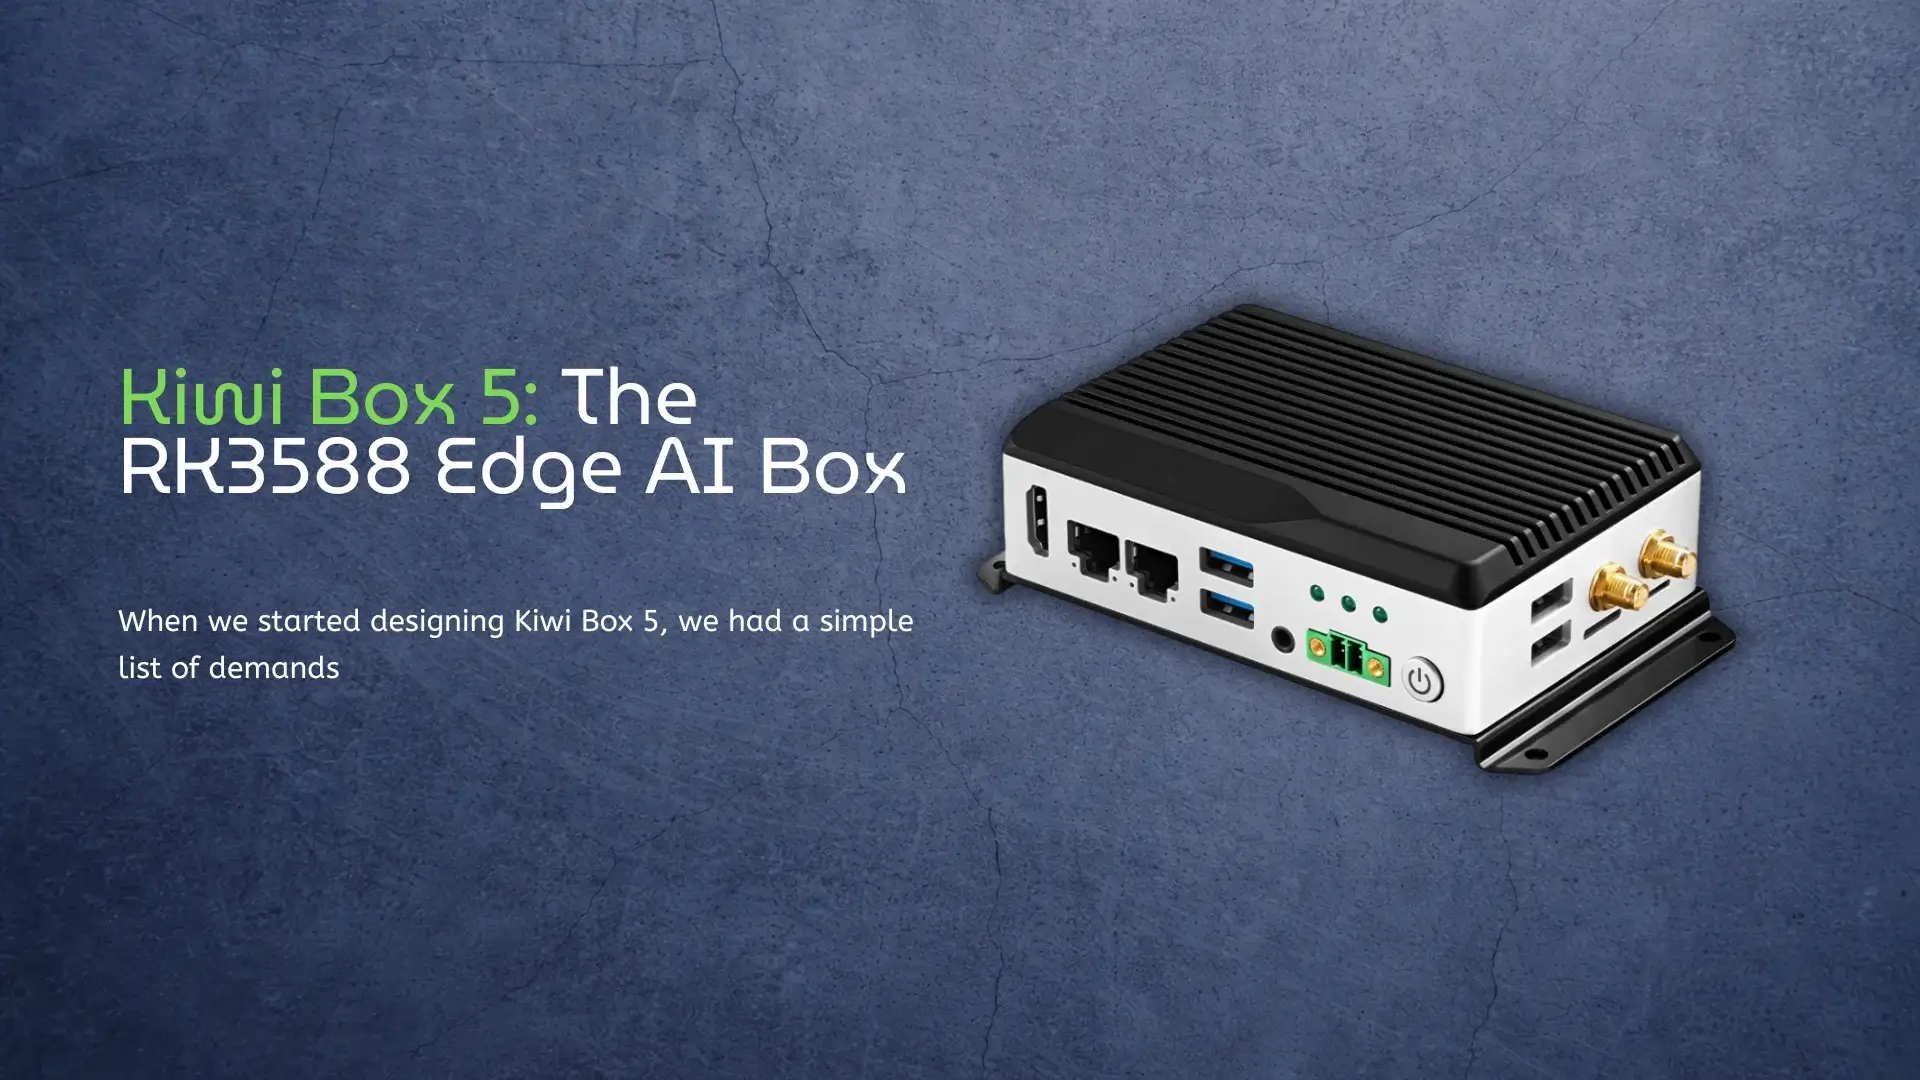
When we started designing Kiwi Box 5, we had a simple list of demands. Build a computer around the Rockchip RK3588. Add everything that Edge AI Box users are always missing, and don’t turn it into an overheating toy. We looked at the market for industrial and hobbyist single-board computers and compact mini PCs. We saw users dealing with USB hubs, living with a single Ethernet port, and praying their power connector wouldn’t fall out at the worst possible moment. So we built Kiwi Box 5. This is not just another RK3588 box; this is a finished device for real tasks. Kiwi Box 5: Our new Edge AI Box At the heart of Kiwi Box 5 lies the Rockchip RK3588. If you want a deep dive into what this chip can do, we have prepared a complete RK3588 specs and performance guide. Quick facts: 8 cores: 4x Cortex-A76 at 2.2GHz plus 4x Cortex-A55 at 1.8GHz, 8nm process Mali-G610 MC4 graphics with Vulkan 1.2 and OpenCL 2.0 support Triple-core NPU delivering 6 TOPS for on-device AI, no cloud needed We did not cut corners on memory. The standard config is 8GB LPDDR4X (options for 4, 16, or 32GB) and 128GB eMMC
In the last article, I talked about RK3588 hardware video encoding. This time, I wanted to go deeper after spending more than 100 hours testing different pipelines on the KiwiPi 5B SBC.Now let me tell you about the parts they don’t put in the shiny marketing slides. Because yeah, hardware encoding works. When it works. But getting there? Buckle up. The First Crash (And The Second, And The Third) I’ll be honest – my first mpph264enc pipeline crashed within 30 seconds. Not even kidding. The error? Something like mpp_enc: failed to allocate buffer. No explanation. No helpful hint. Just… death. After hours of forum crawling and staring at kernel logs like a confused raccoon, I found the culprit: memory pressure. See, the VPU needs contiguous DMA buffers. If your system has been running for a while and RAM is fragmented, the allocation just fails. No graceful fallback. Just a crash. The fix? Reboot. Or pre-allocate buffers like a paranoid sysadmin. I chose the reboot method because I’m lazy and this was a test bench, not a production jet engine. But this taught me something important: hardware encoding is powerful, but fragile. You can’t just hammer it like a software encoder
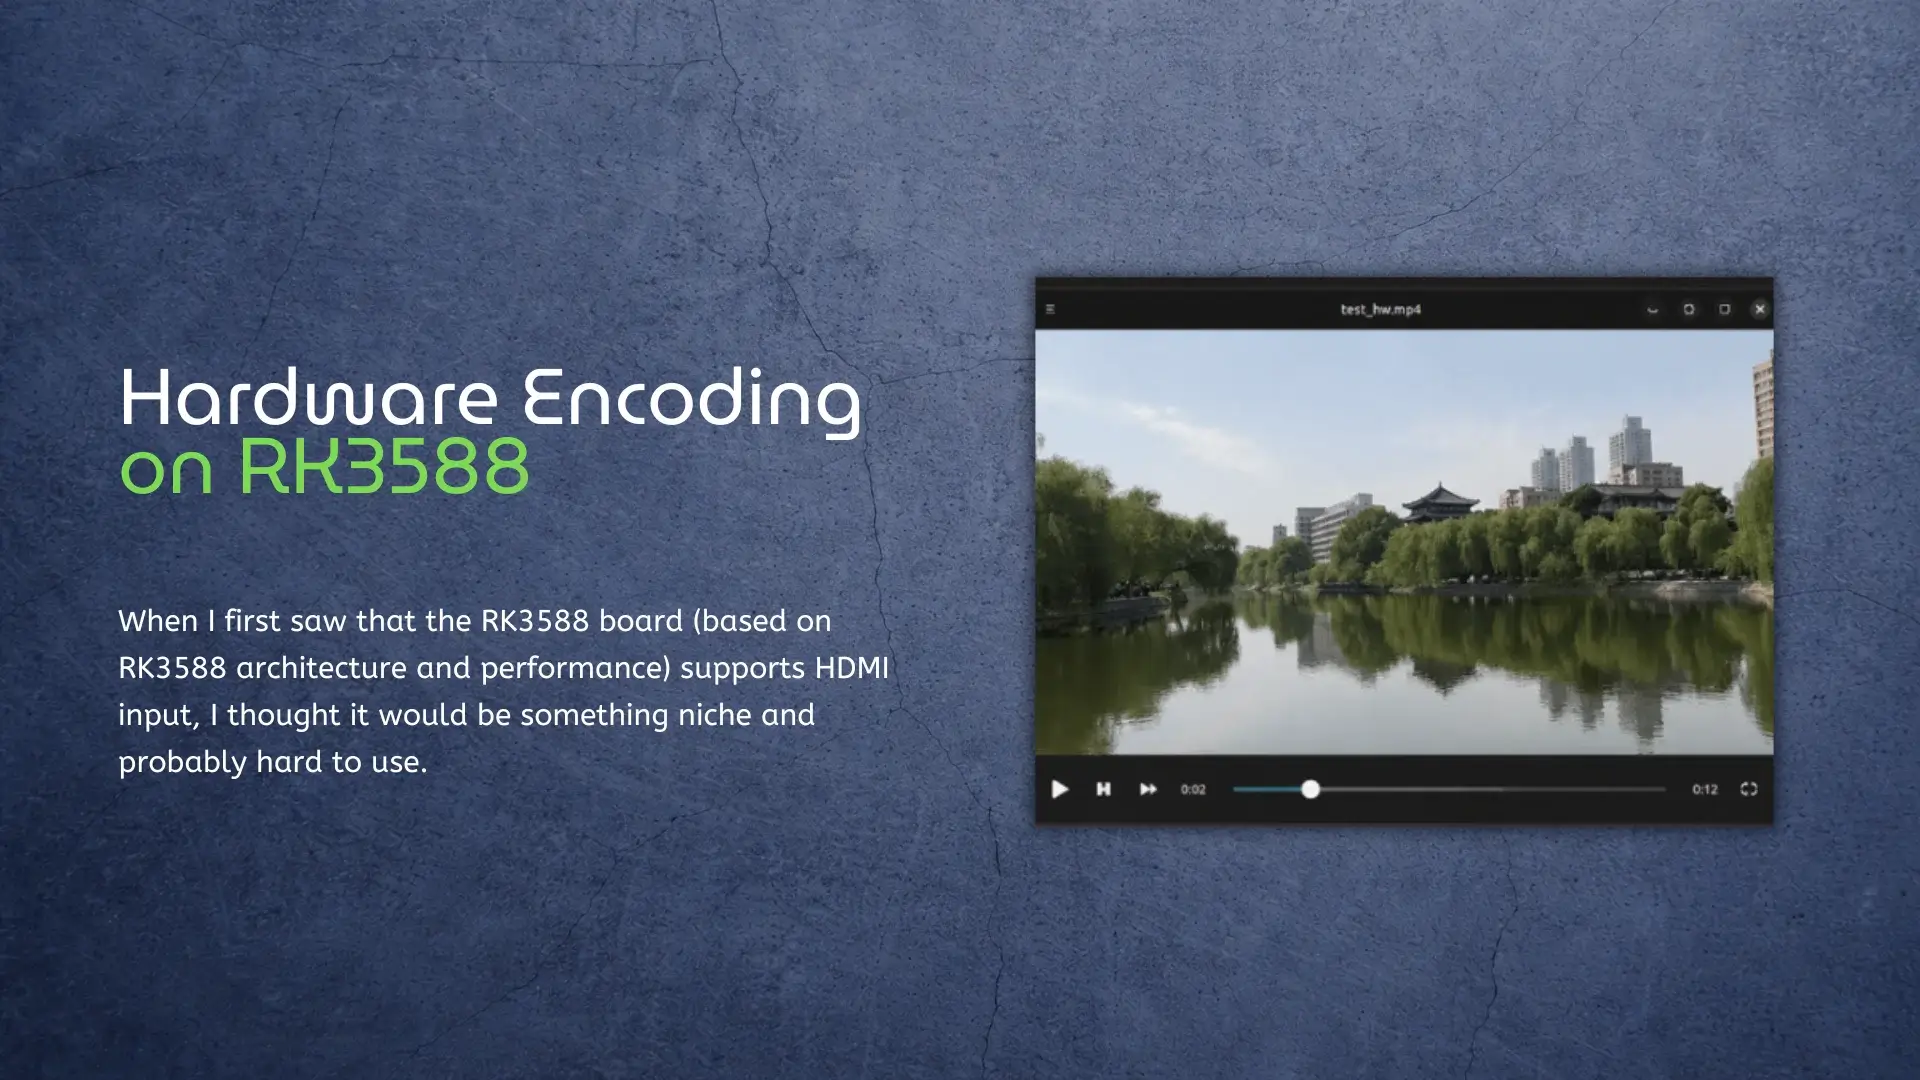
After testing HDMI-IN on RK3588 with Kiwipi 5B, I ran into a very simple problem. Recording video work, but CPU usage goes up fast. At first, I was using software for hardware video encoding. It works, but not for long runs or real-time pipelines, so I switched to hardware video encoding. And that’s where the board started to behave completely differently, though I had to change file permissions for the scripts. What Hardware Video Encoding Actually Means Here On RK3588, video encoding is not done by the CPU; there is a dedicated hardware block (VPU). It handles H.264 and H.265 encoding directly. And this is not a small feature. The chip supports real-time encoding up to 8K resolution, which means the encoding is designed to run continuously without loading the CPU. So instead of: CPU doing everything frames getting delayed You get: dedicated pipeline stable throughput much lower CPU usage Switching From Software to Hardware Video Encoding At first, I used something like this: x264enc It works, but CPU usage can easily go above 100%. Then I switched to Rockchip hardware encoding. On RK3588, this usually goes through: MPP (Media Process Platform) or hardware-enabled ffmpeg / gstreamer plugins For example,
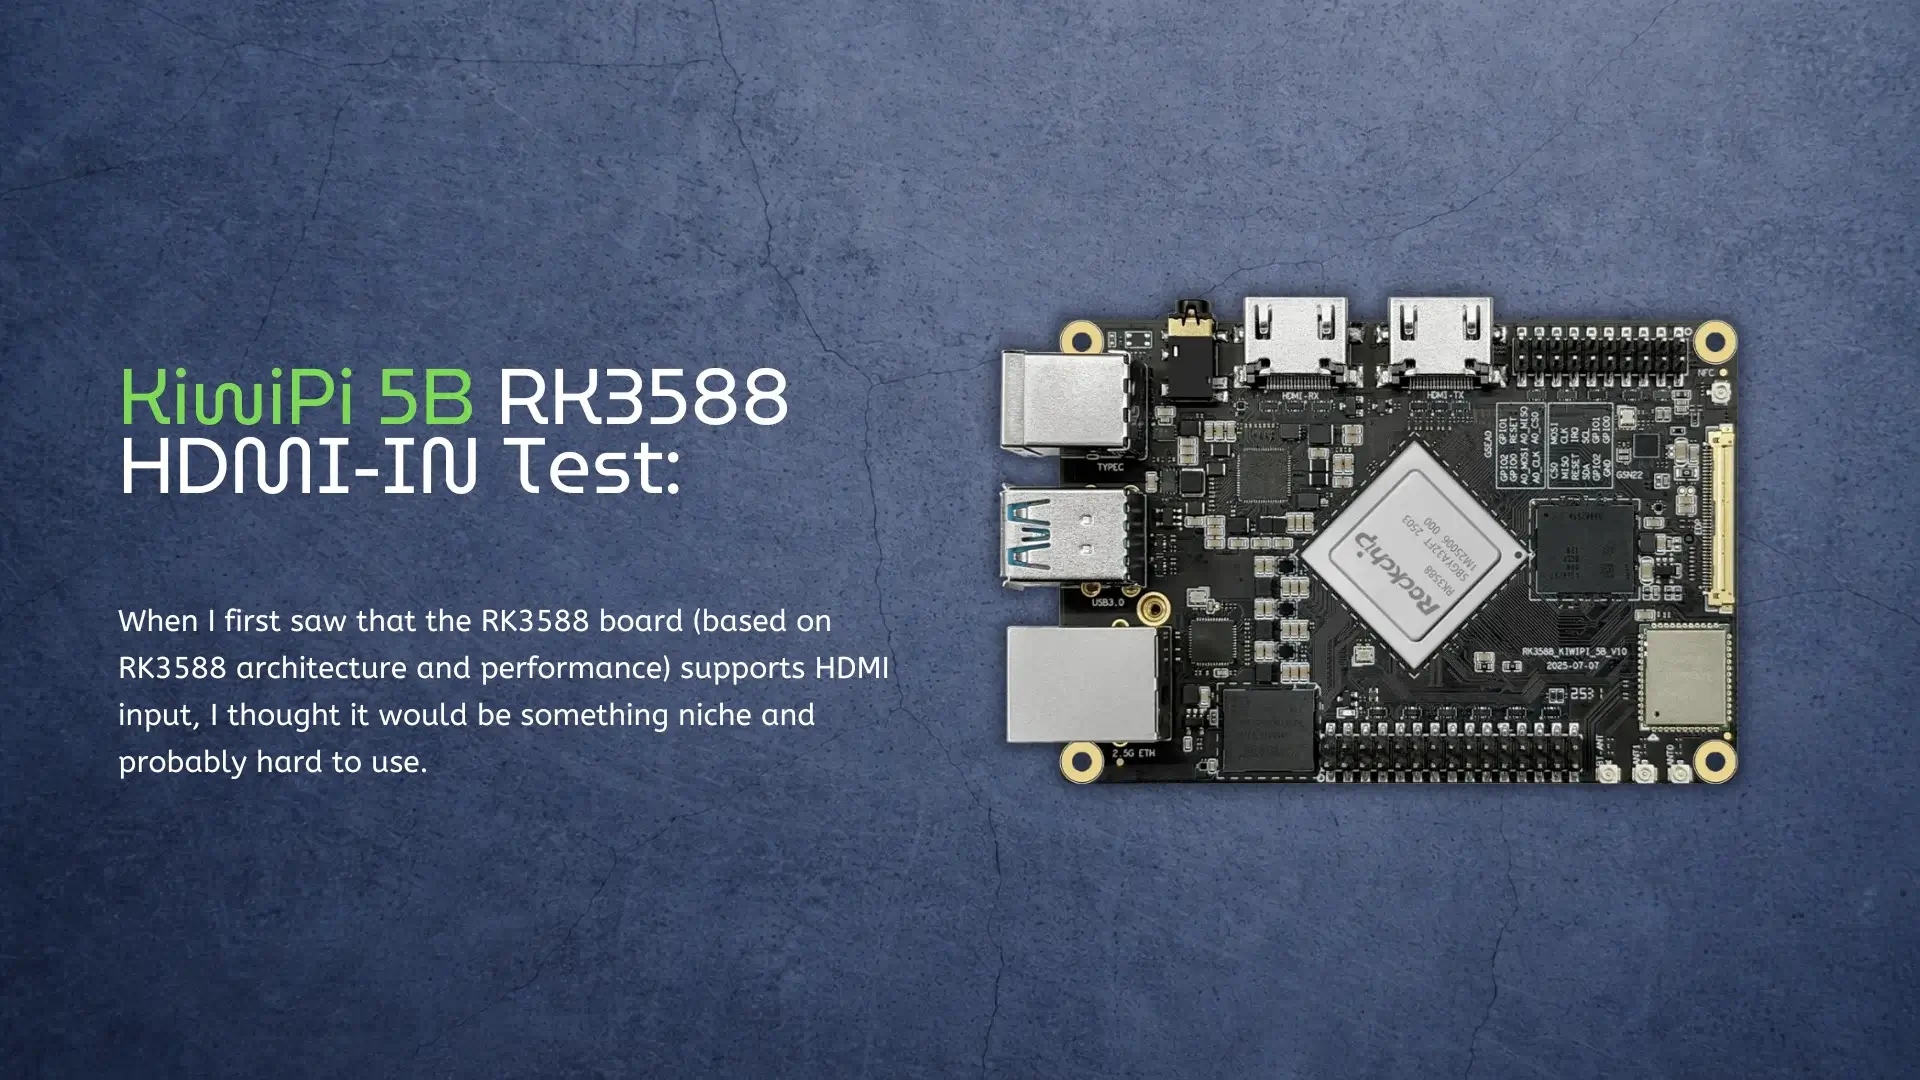
Here’s What You Can Actually Do With It When I first saw that the RK3588 board (based on RK3588 architecture and performance) supports HDMI input, I thought it would be something niche and probably hard to use. Most single-board computers don’t even have HDMI-IN, so expectations were not very high. But after testing it on the KiwiPi 5B, I realized it’s actually one of the most interesting features – and also one of the least explained. So I decided to try it myself and see what it can really do in practice. Getting HDMI-IN to Work The setup is surprisingly straightforward. Once the system boots, the HDMI input shows up as a standard video device in Linux, using the V4L2 video interface. In my case, it appeared as: /dev/video0 To confirm it, I ran a quick check in the system, and the HDMI receiver was correctly detected as a video source. At this point, the board is already receiving signal – you just need to access it. HDMI input on RK3588 showing up as /dev/video0 in Linux Checking the Input Signal Before trying anything complex, I wanted to see what kind of signal the board is
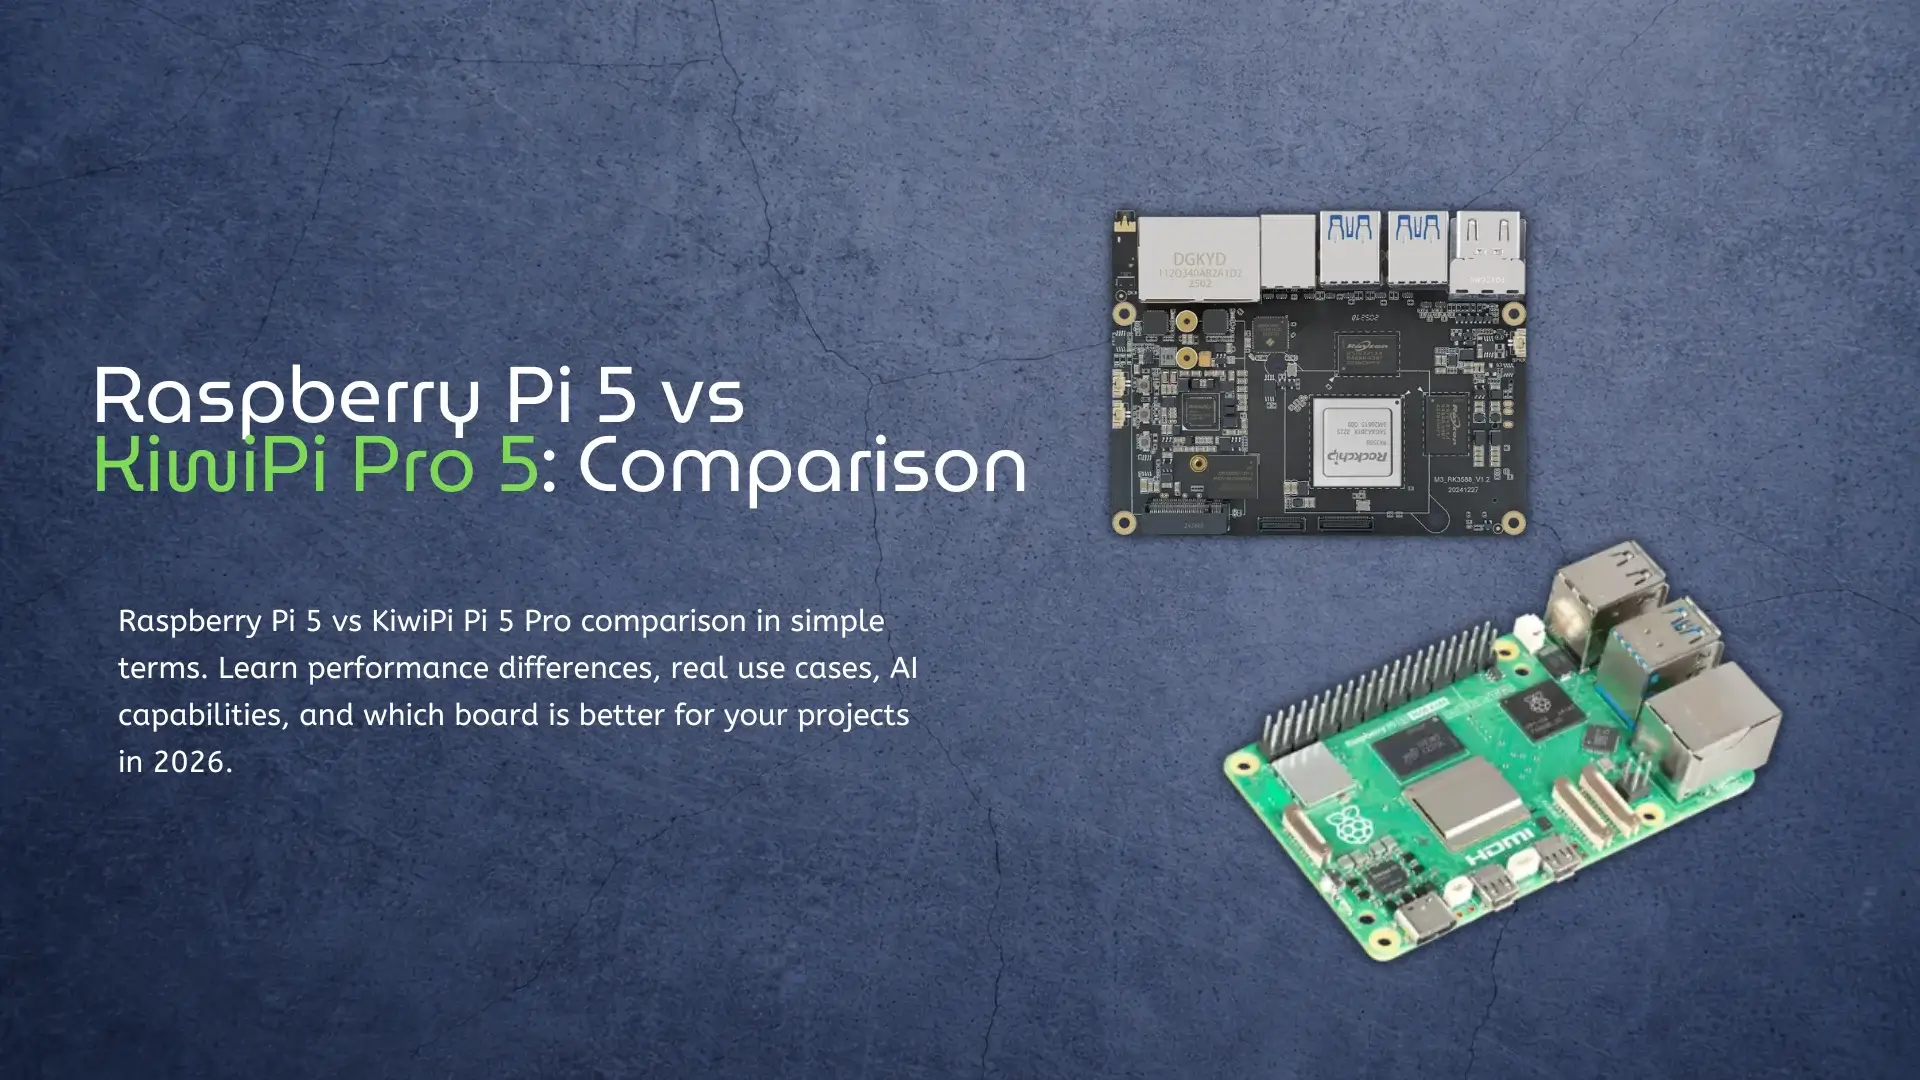
Which board should you choose for real projects in 2026 A clear and simple look at Raspberry Pi 5 and KiwiPi Pi 5 Pro performance If you are choosing between Raspberry Pi 5 and KiwiPi 5 Pro, you are really deciding what kind of work you want to do. Both are small computers, but they are built for slightly different purposes. One is simple and widely supported. The other is more powerful and focused on heavy tasks like AI and advanced processing. Raspberry Pi 5 is the most popular option for beginners and hobby projects. It is easy to set up, has a huge community, and works well for learning, coding, and simple servers. KiwiPi 5 Pro, on the other hand, is built around a stronger chip. It is made for people who need more performance, especially for things like AI, video processing, and edge computing. Understanding the basic difference The Raspberry Pi 5 uses a quad-core ARM Cortex-A76 processor. It is fast compared to older Raspberry Pi models, and it handles everyday tasks well. You can browse the web, write code, and run lightweight applications without problems. The KiwiPi 5 Pro uses a much more powerful chip based on