
Here’s What You Can Actually Do With It
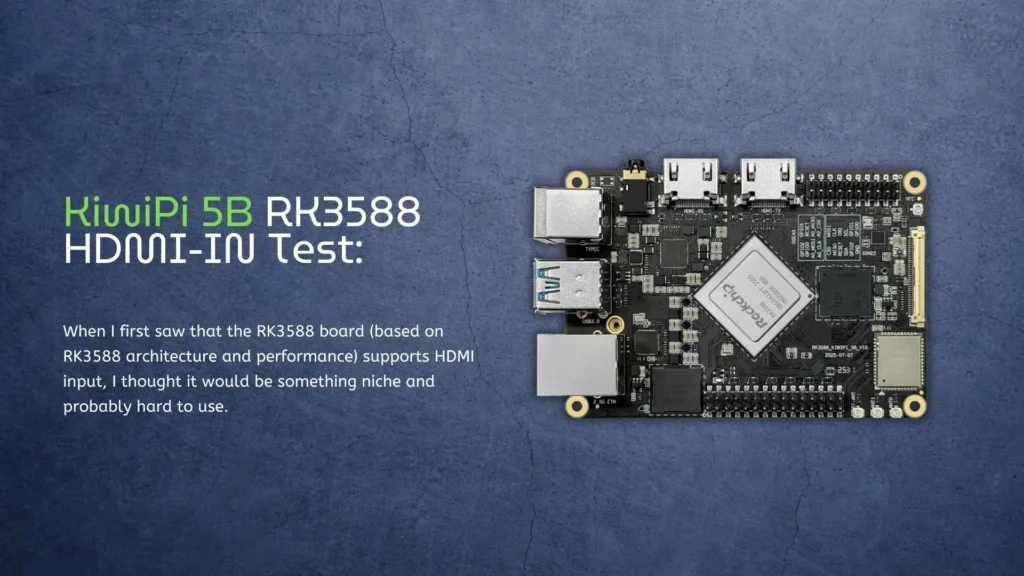
When I first saw that the RK3588 board (based on RK3588 architecture and performance) supports HDMI input, I thought it would be something niche and probably hard to use. Most single-board computers don’t even have HDMI-IN, so expectations were not very high.
But after testing it on the KiwiPi 5B, I realized it’s actually one of the most interesting features – and also one of the least explained.
So I decided to try it myself and see what it can really do in practice.
Getting HDMI-IN to Work
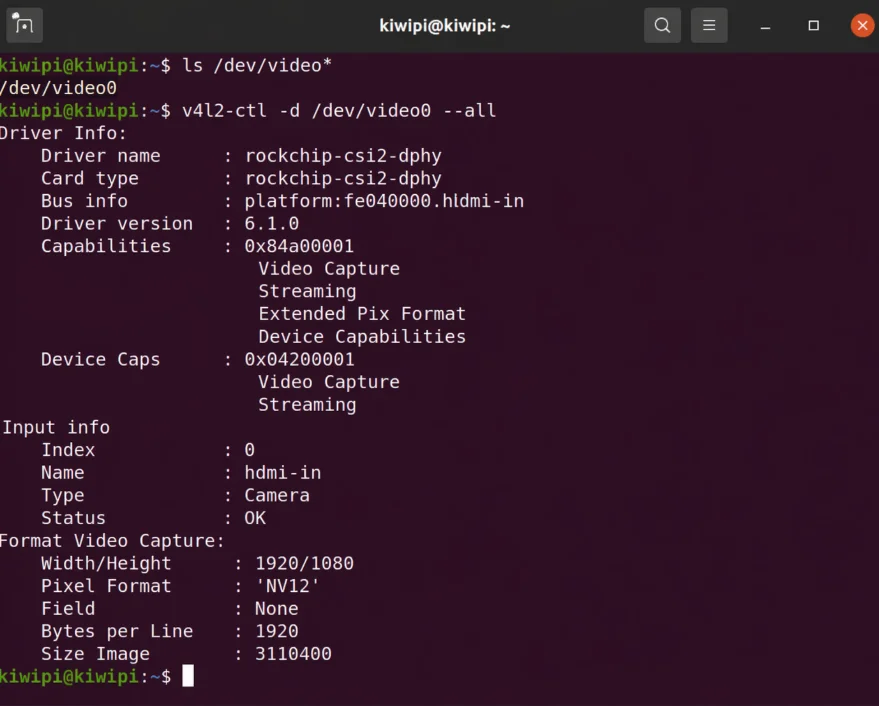
The setup is surprisingly straightforward. Once the system boots, the HDMI input shows up as a standard video device in Linux, using the V4L2 video interface. In my case, it appeared as:
/dev/video0
To confirm it, I ran a quick check in the system, and the HDMI receiver was correctly detected as a video source.
At this point, the board is already receiving signal – you just need to access it.
Checking the Input Signal
Before trying anything complex, I wanted to see what kind of signal the board is actually getting.
So I used a simple command to inspect the video input:
v4l2-ctl -d /dev/video0 -V
The result showed a full HD input (1920×1080) with a standard pixel format.
That’s important, because it means:
- the board can handle real video input
- it’s not limited to low resolution or test signals
Real-Time Preview
This is where things get interesting.
To actually see the HDMI input live, I used a GStreamer command:
gst-launch-1.0 v4l2src device=/dev/video0 ! videoconvert ! autovideosink sync=false
And it just worked.
No extra drivers, no complicated setup. The video showed up instantly on the display.
There was a small delay, but nothing unexpected – definitely usable.
What I Tested With
I connected a few different devices to see how flexible it is:
- laptop HDMI output
- another SBC
- media player
In all cases, the board picked up the signal without issues.
What surprised me most is how stable it felt. No random disconnects, no crashes – just a steady video feed.
What You Can Actually Do With It
This is the part that matters.
On paper, HDMI-IN sounds like a nice extra. In reality, it opens up some very practical use cases.
1. Video Capture
You can treat the board like a capture device.
Instead of using a USB capture card, you just plug HDMI directly into the board and process it in Linux.
2. Real-Time Processing
Since RK3588 has a built-in NPU, you can explore real-world use cases in modern AI Box solutions based on RK3588, including tasks like object detection and real-time edge AI robotics applications.
And you don’t need to send the video anywhere else – everything happens on-device.
3. Streaming Setup
It’s also possible to:
- capture HDMI input
- encode video
- stream it over network
This basically turns the board into a mini streaming server.
4. Debugging External Devices
This one is underrated.
If you’re working with another board or system, you can use HDMI-IN to monitor output without needing a separate monitor.
What’s Not Perfect
It’s not magic, of course.
A few things I noticed:
- latency is there (not huge, but noticeable)
- setup is CLI-based, not beginner-friendly
- you need to know basic Linux tools
Also, not every tool works out of the box – you may need to experiment a bit.
Final Thoughts
Before testing it, I thought HDMI-IN on RK3588 was more of a checkbox feature.
After actually using it, I’d say it’s one of the most practical things on the board – especially if you’re working with video or AI.
It’s not polished like a consumer product, but it’s powerful. And most importantly, it’s real. Not just a spec on paper. If you want to go further, you can see how this setup evolves into a full pipeline with hardware video encoding on RK3588.