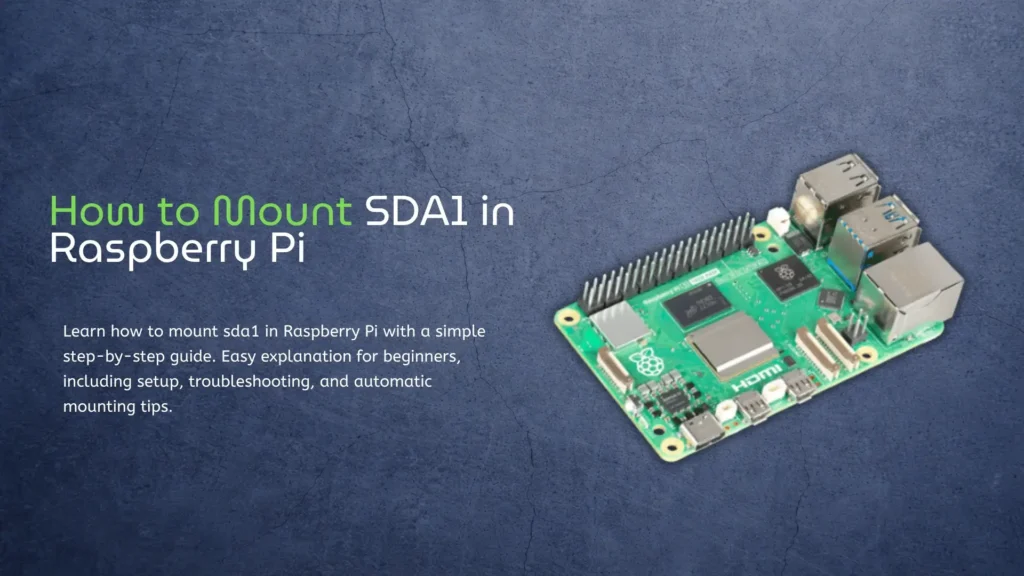
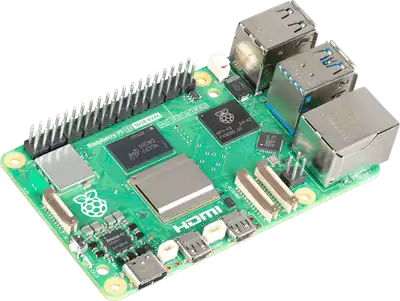
If you are using a Raspberry Pi, sooner or later, you will run into storage devices like USB drives, SSDs, or external hard disks. When you plug one in, it does not always show up automatically the way it does on a normal computer. This is where the idea of mounting comes in. It sounds technical, but it is actually quite simple once you understand it.
In this guide, I will explain how to mount sda1 in Raspberry Pi in a very clear and easy way. Think of this like explaining it to a friend who has never used Linux before. No complicated words, no confusing steps, just what you need to know to make it work.
By the way, there is a TOP-10 list of Raspberry Pi Alternatives. Check it!
If you are setting up storage on a Raspberry Pi, it usually means you plan to use it for real tasks like servers or development. If you are working with video or external devices, things can get a bit more interesting. For example, on more powerful boards like RK3588, you can even take HDMI input directly and process it in real time. I tested this setup in practice, and it turned out to be much more useful than expected. If you want to see how it actually works in Linux, you can check this real HDMI-IN test on RK3588. But if you are working with heavier workloads or need more performance, it’s worth comparing alternatives like in this guide on Raspberry Pi 5 vs KiwiPi Pi 5 Pro performance comparison.
Understanding What SDA1 Means
Before we jump into commands, it helps to understand what sda1 actually is. When you connect a storage device to your Raspberry Pi, the system gives it a name. The first drive is usually called sda, and the first partition on that drive is called sda1. If the drive has more partitions, you might see names like sda2, sda3, and so on.
So when people search for how to mount sda1 in Raspberry Pi, they are usually trying to access the first partition of a USB drive or external disk. Mounting simply means telling the system where to make that storage available so you can read and write files. Some details sourced from Raspberry Pi Documentation.
Why You Need to Mount a Drive
On Windows or macOS, drives show up automatically. On Linux systems like Raspberry Pi OS, things are a bit more manual. The system does not just open every device by default. Instead, you decide where each drive appears in the file system.
This gives you more control. It also avoids problems when multiple drives are connected. But it means you need to run a few commands.
When you mount a drive, you are basically saying, “show this storage inside this folder so I can use it.”
Checking If Your Drive Is Detected
After plugging in your USB drive or SSD, the first thing to do is check if the system sees it. You can open the terminal and type a simple command to list all storage devices.
You will usually see something like sda and under it sda1. That confirms your drive is connected. If you do not see it, then the issue is not mounting but detection, which can be caused by power or cable problems.
Most of the time, though, your Raspberry Pi will detect the drive right away.
Creating a Mount Point
Now you need a place where the drive will appear. This is called a mount point. It is just a folder.
You can create a folder anywhere, but a common place is inside the /mnt directory. For example, you might create a folder called USB.
This folder is where your files will show up once the drive is mounted. Without this step, the system does not know where to attach the storage.
Mounting SDA1 in Raspberry Pi
Now comes the main step. This is where you actually connect the drive to the folder.
You use a command that tells the system to take /dev/sda1 and attach it to your chosen folder. Once this is done, you can open that folder and see all your files.
This is the core idea behind how to mount sda1 in Raspberry Pi. It is just linking a device to a folder.
If everything works, you will not see any error messages. You can then open the folder and confirm that your files are there.
Making the Mount Permanent
One thing you might notice is that after restarting your Raspberry Pi, the drive is no longer mounted. This is normal. By default, mounts are temporary.
If you want the drive to be available every time the system starts, you need to add it to a configuration file. This file tells the system what to mount during boot.
This step is optional, but it saves time if you use the drive often. Once set up, your Raspberry Pi will automatically mount sda1 without you doing anything.
Common Issues and Simple Fixes
Sometimes the mount does not work right away. One common problem is permissions. You might see the files but not be able to edit them. This usually means the system is restricting access.
Another issue can be the file system type. If the drive uses a format that Linux does not fully support, you might need extra tools. Most USB drives use formats like FAT32 or exFAT, which are usually supported.
If you ever see an error message, do not panic. Most of them are simple and can be fixed by checking the drive name or trying the command again.
Why /dev/sda1 Does Not Exist on Raspberry Pi
Sometimes you may try to mount /dev/sda1 on Raspberry Pi and see an error like special device /dev/sda1 does not exist. This usually means the problem is not with the mount command, but with the device itself.
The most common reason is that the system does not detect the drive at all. You can check this by running lsblk. If you do not see sda or sda1 in the list, then the Raspberry Pi simply does not see the device, so there is nothing to mount.
Another very common issue is power. External hard drives, especially HDDs, need more power than the Raspberry Pi can provide through USB. In this case, the drive may not appear at all. Using a powered USB hub or switching to an SSD usually fixes this.
It is also possible that the device has a different name. Instead of sda1, it might appear as sdb1 or something else. This is why it is always important to check the actual name before mounting.
Sometimes the disk exists, but the partition does not. You might see sda, but not sda1. This means the drive is not partitioned yet, so it cannot be mounted in the usual way.
In most cases, the fix is simple. Plug in the drive, run lsblk, confirm the correct device name, and then mount it again using the correct path
Raspberry Pi vs Kiwi Pi 5 for Storage Tasks
Below is a simple comparison to give you context if you are working with different boards. The process of mounting drives is similar across Linux-based systems, but hardware can affect speed and performance.
| Feature | Raspberry Pi (Typical Model) | Kiwi Pi 5 |
| CPU | Quad-core ARM | Rockchip RK3588S (8 cores) |
| Storage Ports | USB 2.0 / USB 3.0 (depending on model) | USB 3.0 + PCIe support |
| Speed for External Drives | Moderate | Much faster with SSD |
| OS | Raspberry Pi OS (Linux) | Linux / Android |
| Mounting Process | Manual or auto | Same Linux method |
Even though the hardware is different, the idea of how to mount sda1 in Raspberry Pi is almost identical on RK3588S Kiwi Pi 5 because both use Linux systems. The commands and logic stay the same. Also, you can read about KiwiPi 5 Pro compared to another SBC.
Why This Skill Is Useful
Knowing how to mount drives is very helpful. It allows you to use external storage for backups, media files, or even running applications. If you are working on projects like a home server or media center, this becomes essential.
It also helps you understand how Linux systems work. Once you get comfortable with mounting, other tasks become easier.
Conclusion
Mounting a drive on a Raspberry Pi may look complicated at first, but it is actually very simple. You connect the device, check its name, create a folder, and link the two together. That is all there is to it. When people search for how to mount sda1 in Raspberry Pi, they are really just trying to access their storage, and the process becomes easy once you understand the basic idea.
If you want to make things even smoother, you can set up automatic mounting so the drive is always ready after reboot. This saves time and makes your system feel more like a regular computer. With a bit of practice, this becomes second nature, and you will not even think about it anymore.
You can also read an article about the Rockchip RK3588, which is used in some products.
FAQ
One common question is what to do if sda1 does not appear. In most cases, this means the drive is not detected. You should check the cable, power supply, or try a different USB port.
Another question is whether mounting deletes data. The answer is no. Mounting only connects the drive to the system. It does not change or remove your files.
People also ask if they need to mount every time. By default, yes, but you can make it automatic by editing system settings so it happens during startup.
Some users wonder if this works for SSDs and HDDs. The answer is yes. The process is the same for all storage types.
Finally, many beginners ask if they can break something by mounting incorrectly. In most cases, no. If something goes wrong, the system will show an error, and you can simply try again.
Stay updated with us:
- Arm Cortex-A76: Architecture & Performance
- Orange Pi PC Android: Setup and Limitations
- Rockchip RK3399: The Chip That Refuses to Disappear
- 10 Best Raspberry Pi Alternatives in 2026
- Rockchip RK3566: Specs & Comparison
- Rockchip RK3576: Specs & Performance
- Rockchip: From MP3 Players to Modern SBCs