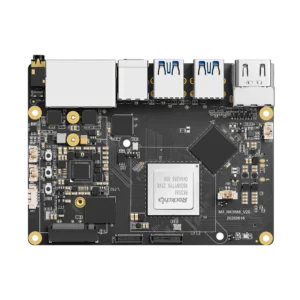


KiwiPi recommends a 30W USB-C PD adapter for the KiwiPi 5 Pro board, with 12V/2.5A as the preferred output. The board accepts 5-20V through the lower of its two stacked USB-C ports.
A 15W phone charger is below that recommendation. The KiwiPi 5 Pro hardware manual says 5V/3A may be enough for a light load, while adapters rated at 10W or less may not boot the board normally. Supplies in the 18-25W range sit in between: normal operation is possible, although a heavier peripheral load may make the system unstable.
The Two USB-C Ports
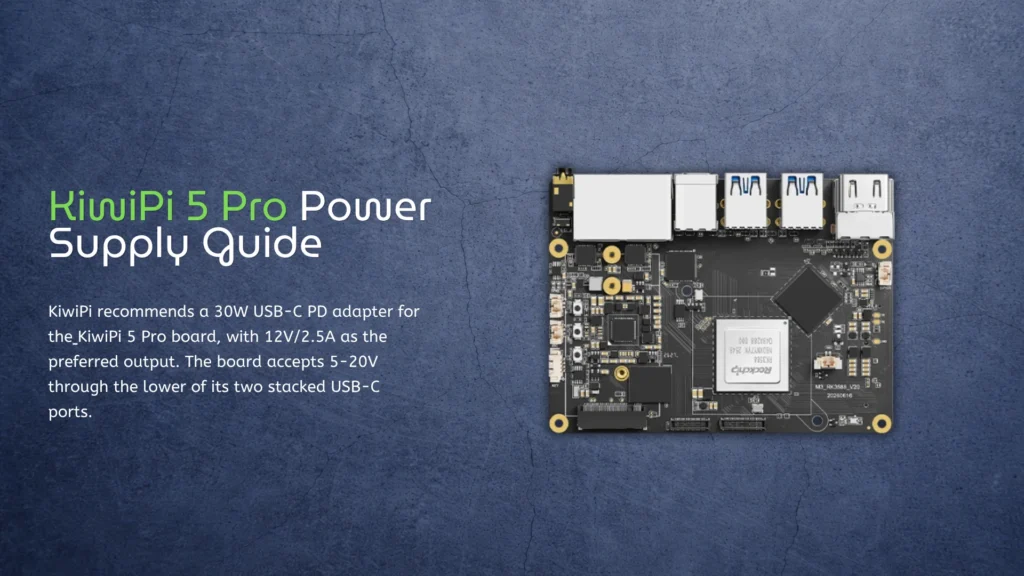
Power Input
The lower USB-C connector, closest to the PCB, is the power input. PD 3.1, QC, and BC1.2 are supported on this port.
It is an input only. The specifications list no data transfer, output voltage, or output current for the lower connector, so it cannot replace the USB-C port above it for flashing or a display connection.
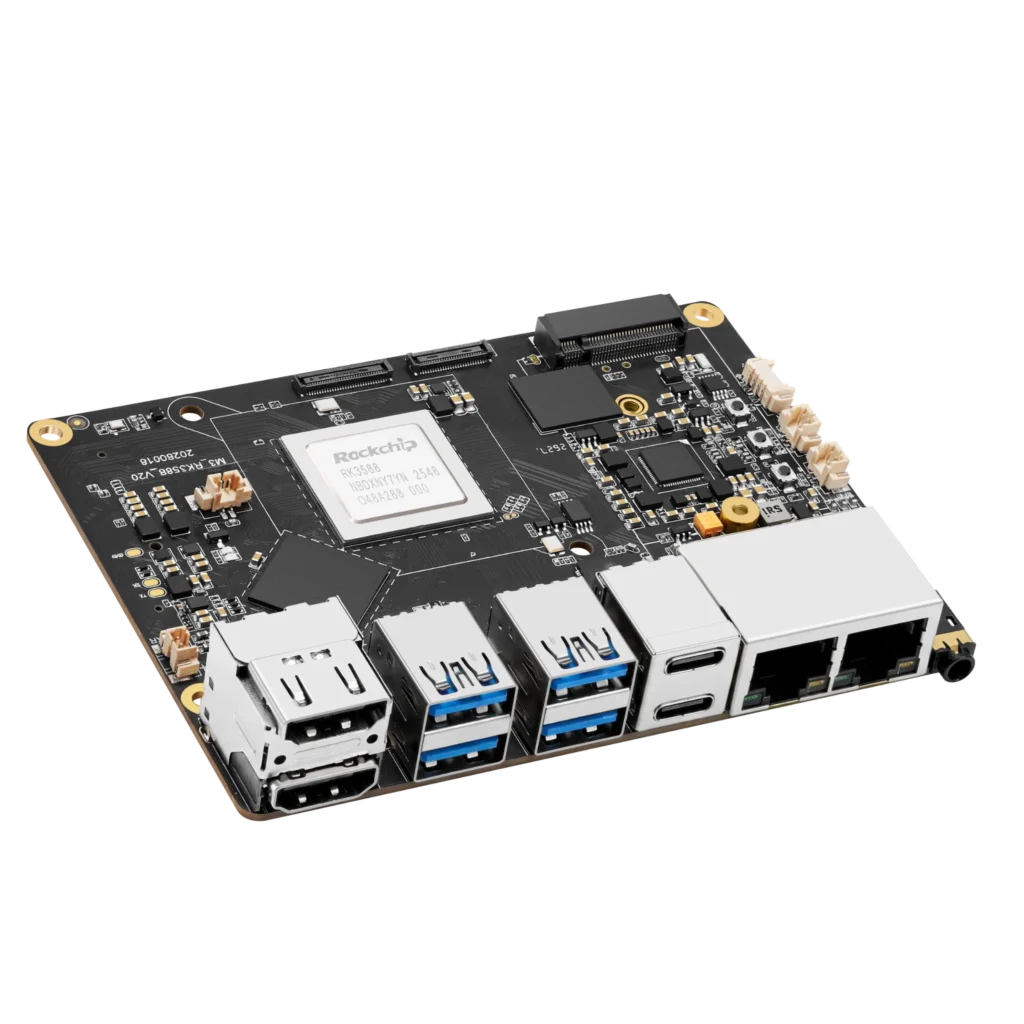
USB-C Data Port
The connector above it has a different job. It is connected to the RK3588 Type-C0 controller and provides USB 3.0 OTG, firmware flashing, ADB, and DisplayPort 1.4 Alt Mode. The plugs look the same, so this is worth checking before changing adapters or cables: power goes to the lower connector. The wider processor interface is covered in the RK3588 hardware specifications.
Adapter Power
Supported Adapter Profiles
The manual divides suitable adapters into four fairly useful groups:
| Adapter output | Typical profile | Result listed in the manual |
| 10W or less | 5V/2A or below | The board may not boot normally |
| 15W | 5V/3A | Light loads may work, with possible instability |
| 18-25W | PD/QC profiles such as 9V/2A or 12V/1.5A | Normal operation is possible, but peripheral load may cause instability |
| 30W or more | 12V/2.5A or another suitable PD/QC profile | Recommended for stable operation |
The 30W row includes several possible outputs: 9V/3.3A, 10V/3A, 12V/2.5A, 15V/2A, and 20V/1.5A. The board normally negotiates 12V, which is why 12V/2.5A is the useful profile to look for on an adapter label. The manual specifically advises against a 5V adapter output.
Why Smaller Adapters Fail
The 18-25W range is the awkward one. An adapter may start Linux and run the board with little attached, then reach its limit after a camera, USB drive, or sustained processor load is added. The manual does not promise stable operation in that range, even if the first boot looks normal.
The cable is part of the power path as well. Use one rated for the adapter output, and check the actual voltage profiles printed on the adapter. A large wattage number is not useful if the supply cannot negotiate a suitable PD or QC output with the board.
This also explains why replacing one nominally powerful charger with another can change the result. The important entry is the supported voltage and current pair, not only the total wattage printed on the front. A 30W PD unit with 12V/2.5A matches the documented recommendation directly.
The Shared 5V Rail
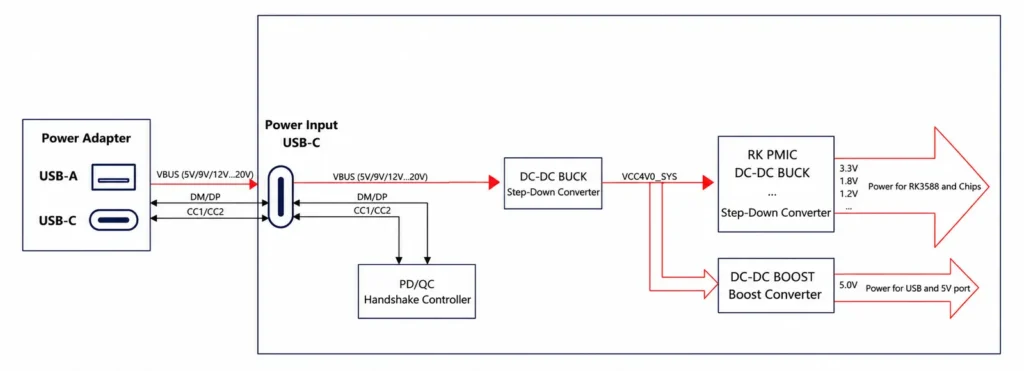
KiwiPi 5 Pro generates a 5V rail rated at 6A in total. USB, the Type-C OTG port, expansion I/O, camera connectors, and HDMI hardware share that output. It is one system budget, not 6A for each connector.
Per-Port Limits
The manual lists a 2A maximum for the Type-C OTG output, each USB 3.0 host group, the Pi-compatible I/O, and the MIPI CSI camera supply. Those individual limits do not add extra capacity. All of them still sit behind the same 5V/6A boost converter, while HDMI is listed at 0.05A.
That matters because the board has enough I/O to collect several loads rather quickly. Four USB 3.0 ports, an M.2 2280 NVMe drive, cameras, HDMI hardware, and a cooling fan can all be active in the same build. None is unusual on its own. The combined load is what exposes an undersized adapter. The KiwiPi and Raspberry Pi comparison shows the difference in available I/O.
Video capture and encoding are a good example. HDMI input, storage, Ethernet, and the RK3588 video engine may all be busy together. An NVMe transfer or another bus-powered USB device then leaves less margin on the same supply. The separate guide to hardware video encoding on RK3588 describes that workload in more detail.
For the usual board, NVMe, network connection, fan, keyboard, and mouse, the documented starting point is a 30W or higher PD/QC adapter offering 12V/2.5A. Use the lower USB-C port and a short, properly rated cable.
External Power for Peripherals
Several cameras, external drives, or USB accelerators deserve their own power budget. A powered USB hub is the simpler option for those devices. A larger adapter gives the board more input headroom, but the shared 5V/6A output limit remains.