





How to Install RetroArch on RK3588S SBC
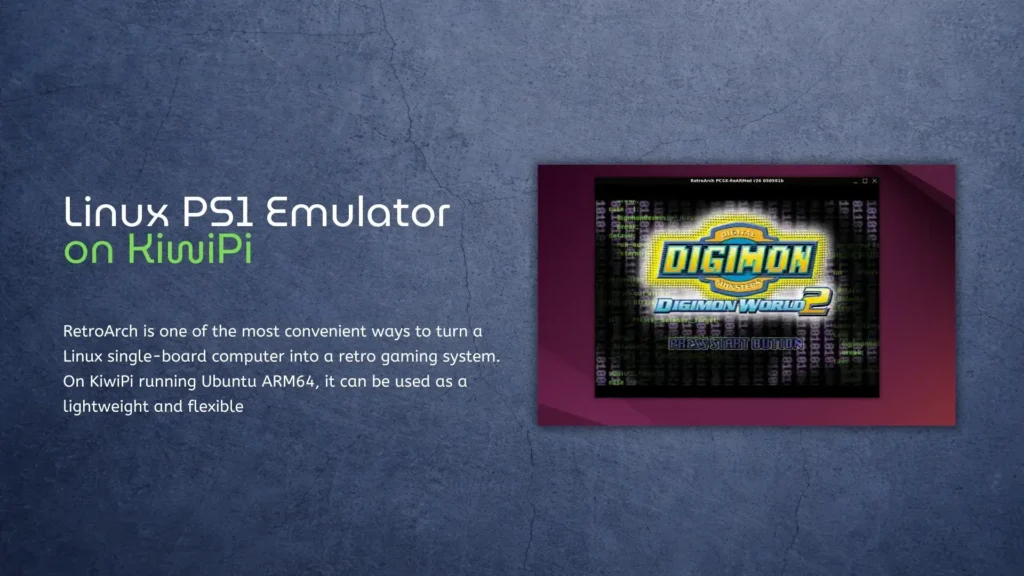
RetroArch is one of the most convenient ways to turn a Linux single-board computer into a retro gaming system. On KiwiPi (based on RK3588S) running Ubuntu ARM64, it can be used as a lightweight and flexible frontend for classic console emulation, including the original PlayStation.
In this guide, we will install RetroArch on KiwiPi 5, manually add a PlayStation emulator core, and launch a PS1 game. The process is based on a real KiwiPi Ubuntu test setup and avoids unnecessary steps that are not required for a successful launch.
The main goal is simple: get a working Linux PS1 emulator on KiwiPi using RetroArch and the PCSX ReARMed core.
KiwiPi 5 Hardware Specifications
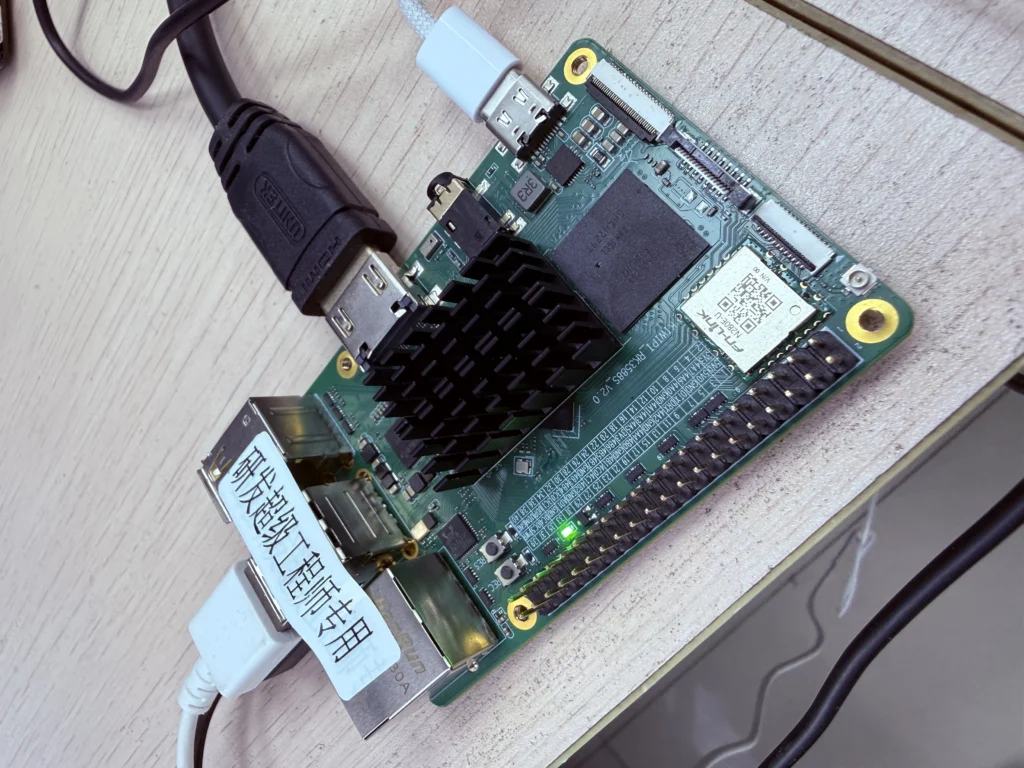
The test system used in this guide is KiwiPi 5, based on the Rockchip RK3588S platform.
| Component | Specification |
|---|---|
| SoC | Rockchip RK3588S, 8 nm |
| CPU | 4× Cortex-A76 @ 2.2 GHz + 4× Cortex-A55 @ 1.8 GHz |
| GPU | ARM Mali-G610 MC4 |
| Graphics API | OpenGL ES 3.2, OpenCL 2.0, Vulkan 1.2 |
| NPU | 6 TOPS |
| RAM | 8 GB LPDDR4X |
| Storage | 64 GB eMMC |
| Video Output | HDMI 2.1 up to 8K@60fps |
| Wireless | Wi-Fi 6, Bluetooth 5.4 |
| Ethernet | Gigabit Ethernet |
| OS Tested | Ubuntu ARM64 |
This hardware is far more powerful than what is required for original PlayStation emulation. In practice, KiwiPi 5 has enough CPU and GPU headroom to run PS1 titles smoothly through RetroArch using the PCSX ReARMed core.
By the way, check our article about another SBC from the KiwiPi Family.
What You Need
Before starting, prepare the following:
-
- KiwiPi 5 running Ubuntu ARM64
-
- Internet connection
-
- Flatpak installed
-
- A PS1 game image
-
- The pcsx_rearmed_libretro.so core file
Supported PS1 image formats may include:
-
- .cue
-
- .bin
-
- .chd
-
- .ccd
-
- .img
For multi-file disc images, keep all related files in the same folder.
For example:
Digimon_World_2.ccd
Digimon_World_2.img
Digimon_World_2.sub
Step 1: Update Ubuntu
Start by updating the system:
sudo apt update
sudo apt upgrade -y
This ensures that the system has the latest available packages before installing RetroArch.
Step 2: Install Flatpak
If Flatpak is not installed yet, install it with:
sudo apt install flatpak -y
Then add the Flathub repository:
flatpak remote-add –if-not-exists flathub https://flathub.org/repo/flathub.flatpakrepo
Step 3: Install RetroArch
Install RetroArch from Flathub:
flatpak install flathub org.libretro.RetroArch
Launch RetroArch:
flatpak run org.libretro.RetroArch
After the first launch, RetroArch will create its configuration folders automatically.
Step 4: Skip the Core Downloader if It Does Not Work
Normally, RetroArch can download emulator cores through:
Main Menu → Online Updater → Download a Core
However, on our KiwiPi Ubuntu ARM64 setup, Download a Core stayed stuck on:
Fetching core list…
Other update functions worked, but the core list did not load correctly.
Instead of spending time fixing the downloader, we installed the PlayStation core manually.
Step 5: Download the PS1 Core Manually
For PlayStation emulation on ARM64, use:
pcsx_rearmed_libretro.so
This is the Libretro core for PCSX ReARMed, a PlayStation emulator optimized for ARM devices.
Download the ARM64 version of this file and save it somewhere easy to find, for example:
Downloads/
Step 6: Install the Core in RetroArch
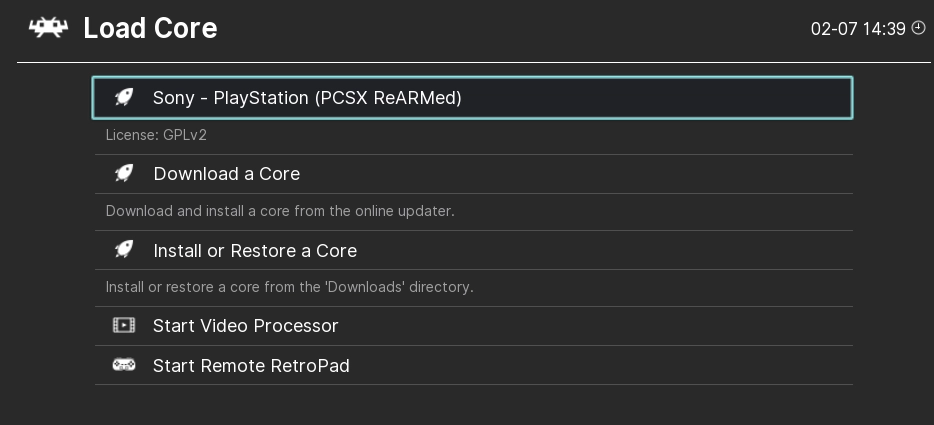
Open RetroArch and go to:
Main Menu → Load Core
Then choose:
Install or Restore a Core
Navigate to the folder where you saved:
pcsx_rearmed_libretro.so
Select the file.
RetroArch will register the core, and it should now appear in the core list.
Step 7: Load a PS1 Game
Now go to:
Main Menu → Load Content
Open the folder where your PS1 game is stored.
If your game uses a .ccd/.img/.sub set, select:
.ccd
If your game uses .cue/.bin, select:
.cue
When RetroArch asks which core to use, choose:
Sony – PlayStation (PCSX ReARMed)
The game should now start.
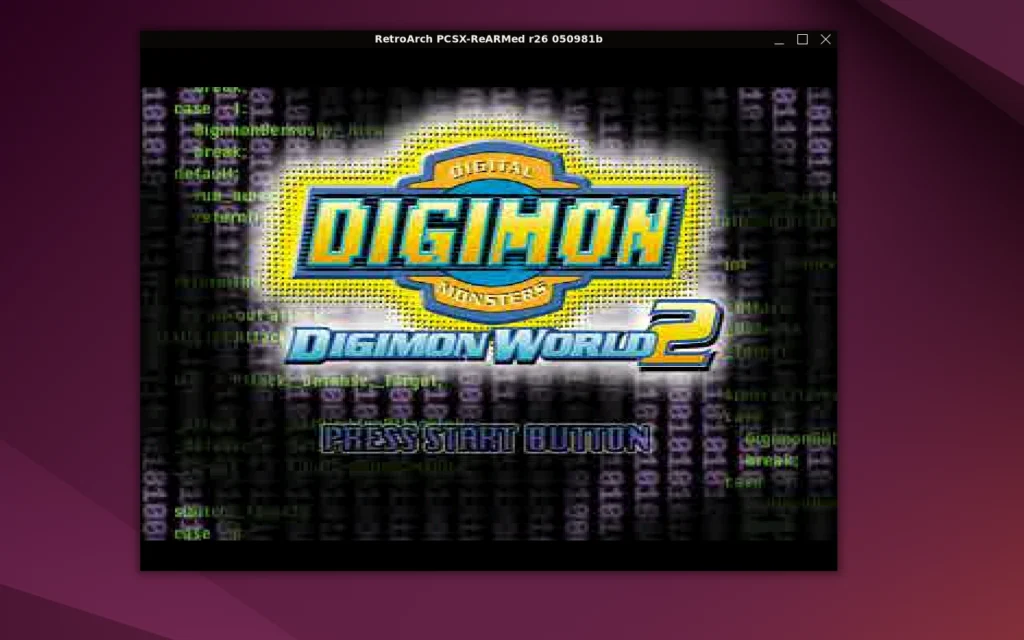
Optional: PlayStation BIOS
Some PlayStation cores can use an original PlayStation BIOS for better compatibility.
Common BIOS filenames include:
scph5500.bin
scph5501.bin
scph5502.bin
If you have a legally dumped BIOS file from your own PlayStation console, place it in the RetroArch System directory shown here:
Settings → Directory → System/BIOS
In our test, the game launched successfully with PCSX ReARMed without manually adding a BIOS file, so this step is optional rather than mandatory.
Basic Controls
If you are using a keyboard, RetroArch may use default keyboard bindings.
Common defaults include:
Arrow keys = D-pad
Enter = Start
Right Shift = Select
Z / X / A / S = face buttons
For a better experience, use a USB or Bluetooth controller and configure it under:
Settings → Input → Port 1 Controls
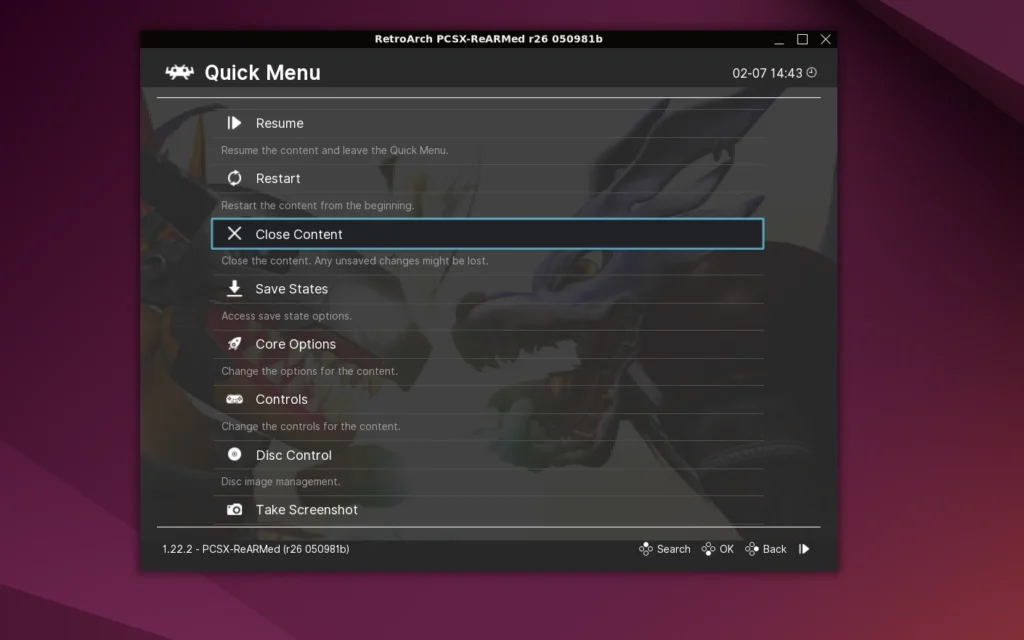
Troubleshooting
Download a Core Stuck on Fetching Core List
Use manual core installation instead:
Main Menu → Load Core → Install or Restore a Core
Then select:
pcsx_rearmed_libretro.so
Core Does Not Appear
Restart RetroArch after installing the .so file.
Game Does Not Start
Check that all related image files are in the same folder.
For example:
Game.ccd
Game.img
Game.sub
or:
Game.cue
Game.bin
Do not separate these files.
Wrong File Selected
For .cue/.bin games, usually select:
.cue
For .ccd/.img/.sub games, usually select:
.ccd
Final Thoughts
Running a Linux PS1 emulator on KiwiPi is completely realistic with RetroArch and PCSX ReARMed. While the built-in RetroArch Core Downloader may not always work correctly on ARM64 Flatpak installations, manual core installation is simple and reliable.
Once the pcsx_rearmed_libretro.so core is installed, KiwiPi can launch PlayStation games directly from RetroArch. For a compact ARM64 board running Ubuntu, this makes KiwiPi a practical platform for retro gaming, lightweight emulation, and future testing with other Libretro cores.